DIY: Overhaul A Kayak, Part 5: Adding A Track System
I only recommend products I believe in and use myself. If you purchase something using a link to an item on a post, I may earn a small commission at no additional cost to you. Read More
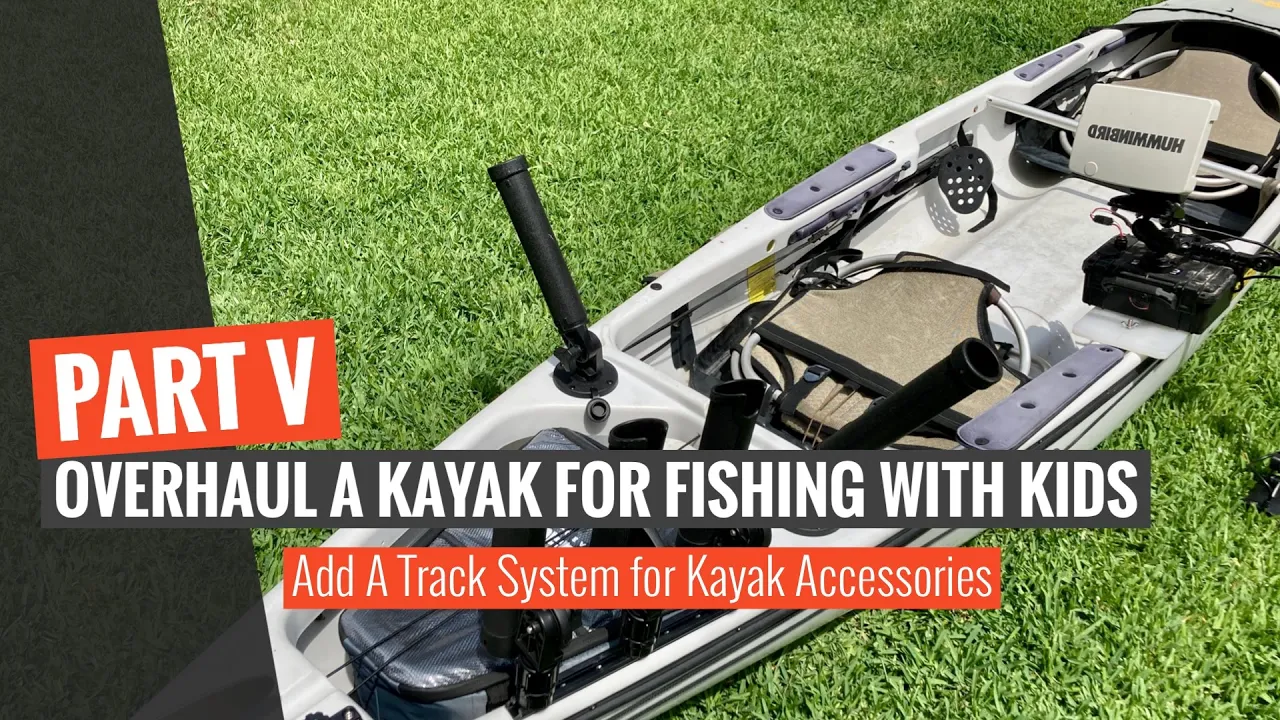
This is Part V and the culmination of a series on overhauling a Native Ultimate 14.5 for fishing with kids. In Part I, I covered cleaning up the oyster rash and rust, Part II focused on replacing the factory flush mount rod holders with heavy-duty rocket launchers to troll, Part III focused on replacing a Scotty 241 base with a low-profile YakAttack Mighty Mount Switch, and Part IV focused on restoring the elasticity to all the kayak rigging.
Part V is focused on adding a track system to the Native Ultimate to allow the attachment of my kayak battery box, fish finder, and my crateless rod holder system.
Related Posts

DIY: Overhaul A Kayak, Part 1: Repairing Oyster Rash and Removing Rust

DIY: Overhaul A Kayak, Part 2: Replace and Upgrade Flush Mount Rod Holders

DIY: Overhaul A Kayak, Part 3:Add A YakAttack Mighty Mount Switch

DIY: Overhaul A Kayak, Part 4: Replace the Shock Cord to Bring the Elasticity Back

DIY: Overhaul A Kayak, Part 5: Adding A Track System
Step 1: Cut the 16″ Track
Using a band saw, cut the 16″ piece of track into a 12″ and 4″ piece. You can use a standard 12″ piece of track, but I chose to cut a 16" piece because I wanted a 4″ section for a camera mount on a future build. [00:25]
Step 2: Prep the Aluminum Backing Plate
If you aren't using the YakAttack Full Back, you can make your own. Rip a 1/4" piece of 1" aluminum flat stock into two sections to serve as the foundation for the backing plate. [00:44]
Step 3: Tap the Aluminum Flat Stock
Using the track as a template, mark the holes in your aluminum and drill with a #29 drill bit. Tap the holes with an 8-32 tap. [01:10]
Tip: After tapping the first hole, screw the track to the plate to ensure the rest of your holes stay perfectly aligned as you mark and drill them. [01:26]
Step 4: Position the Track on the Side Rail
Position the track in the hidden rail recess of the Native Ultimate. The non-beveled end should butt up against the wall closest to your seat. Drill 11/64″ holes through each screw hole of the track system into the kayak hull. [01:57]
Step 5: Secure the Track System
Place your backing plate underneath the rail inside the hull and use a Torx wrench to secure the screws through the track and into the tapped holes of the backing plate. This rail now supports accessories like the Portable Kayak Battery Box and Fish Finder. [02:04]
Step 6: Install the Rear Track for Crateless Rod Holders
Place the rear track on the back left of the kayak and secure it in place with the remaining backing plate. Using Scotty Gear Heads, secure the Scotty Rodmaster II rod holders. This system is great because it allows you to carry a cooler in the back instead of a bulky crate. [02:15]
Kayak Makeover Complete
With your newly installed track system, you have completed all five parts of the kayak overhaul to fish with your kids:
Materials Needed
(May Contain Links that Earn Commission)
•
1/4″ Aluminum Flat (OR)•
8-32 Tap and Bit Set