DIY: Overhaul A Kayak, Part 4: Replace the Shock Cord to Bring the Elasticity Back
I only recommend products I believe in and use myself. If you purchase something using a link to an item on a post, I may earn a small commission at no additional cost to you. Read More
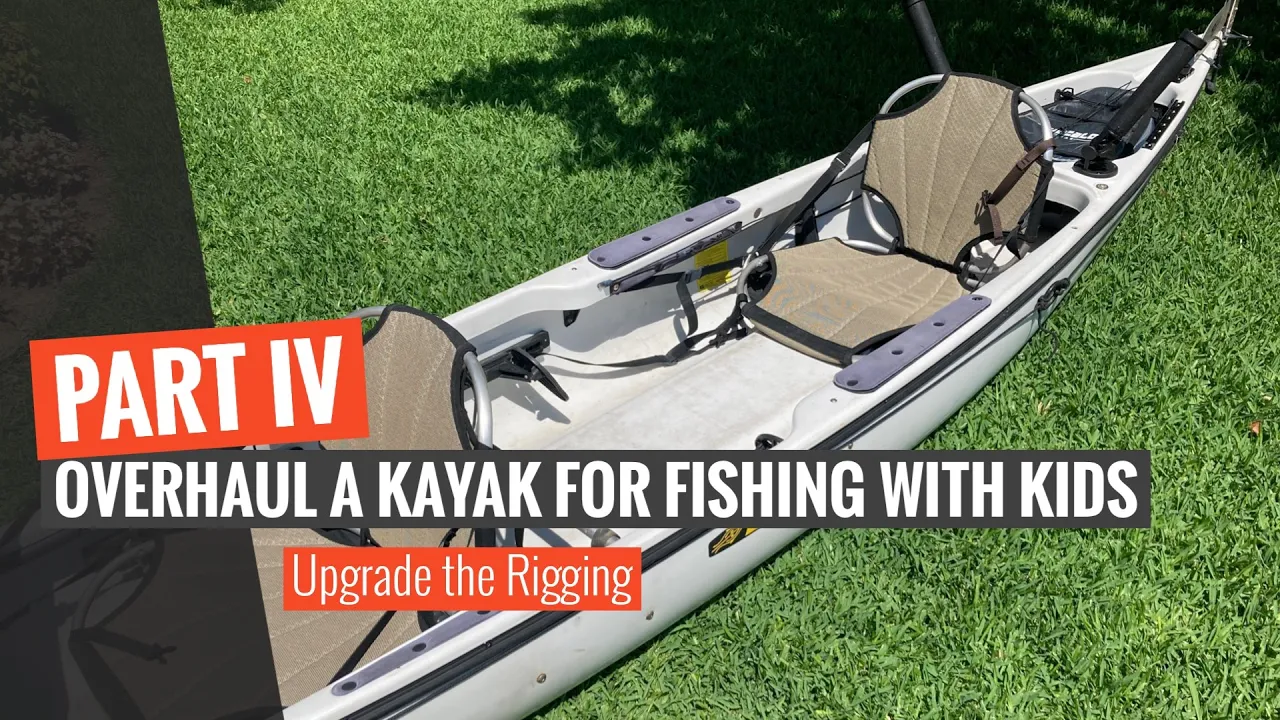
This is Part IV of a series on overhauling a first-generation Native Ultimate 14.5 for fishing with kids. In previous installments, I covered cleaning up oyster rash and rust, upgrading rod holders for trolling, and installing low-profile accessory mounts.
Part IV focuses on restoring the elasticity to all the kayak rigging. Salt and sun break down shock cord over time, but replacing it ensures that your gear stays snug and moving parts—like the seats—function as they should.
Related Posts

DIY: Overhaul A Kayak, Part 1: Repairing Oyster Rash and Removing Rust

DIY: Overhaul A Kayak, Part 2: Replace and Upgrade Flush Mount Rod Holders

DIY: Overhaul A Kayak, Part 3:Add A YakAttack Mighty Mount Switch

DIY: Overhaul A Kayak, Part 4: Replace the Shock Cord to Bring the Elasticity Back

DIY: Overhaul A Kayak, Part 5: Adding A Track System
Step 1: Replace Hull Shock Cord & Hooks
The native ultimate uses a hook system on the hull to secure gear. Start by removing the worn-out cord and the plastic hook from the seat back rest area on the hull. Thread the hook onto a new length of 1/8" shock cord, pass it back through the holes in the hull, and secure it with a simple overhand knot. [00:22]
Step 2: Update the Rear Rigging
Remove the foam inserts to access the rear rigging. Remove the old cord and thread the new shock cord through. The tension here is important: it needs to be tight enough to hook into the hull hooks and hold a cooler or gear bag securely. Test the tension before tying your final overhand knot and reinstalling the foam. [01:12]
Step 3: Wash Away Salt and Grime
Before working on the seats, give them a thorough wash. Caked-on salt and grime can interfere with the movement of the seat and the longevity of the new cord. Let them dry in the sun before proceeding. [01:43]
Step 4: Restore the Seat "Pop-Up" Tension
The seat backs are designed to spring up when lifted, which makes transitioning positions much easier. Remove the old cord from the seat back and re-thread a new length. The key is finding the "Goldilocks" tension—tight enough that the seat springs up when it reaches the midpoint, but not so tight that it's difficult to push back down. [01:54]
Stay Tuned: Part V – Adding Track for A FishFinder and Crateless Rod Holders
With the upgraded shock cord, your gear will be secured and your seats will function like new. In the final installment, I’ll show you how to install a track system to hold a fish finder, battery box, and a specialized rod holder system.
Materials Needed
(May Contain Links that Earn Commission)