DIY: Add a Drain Plug On the Cheap for A Kayak or Bass Buster
I only recommend products I believe in and use myself. If you purchase something using a link to an item on a post, I may earn a small commission at no additional cost to you. Read More
Having water in a kayak hull that is unable to drain is annoying (and potentially dangerous). If you check the stores, kayak plugs are expensive and typically extremely bulky. Here is a quick tip to add multiple, non-intrusive drain plugs for nearly no cost.
Related Posts

DIY: Overhaul A Kayak, Part 1: Repairing Oyster Rash and Removing Rust

DIY: Overhaul A Kayak, Part 2: Replace and Upgrade Flush Mount Rod Holders

DIY: Overhaul A Kayak, Part 3:Add A YakAttack Mighty Mount Switch

DIY: Overhaul A Kayak, Part 4: Replace the Shock Cord to Bring the Elasticity Back

DIY: Overhaul A Kayak, Part 5: Adding A Track System
Step 1: Drill a Small Pilot Hole
Using a small bit, drill a pilot hole where you want to drain the kayak from. I recommend placing these in the bow and the stern so you can easily tip the kayak to get all the water out. Note: Be sure the location is above the waterline, as this solution is not 100% water-tight. [00:40]
Step 2: Upsize the Hole
Using a 3/8″ drill bit, increase the hole diameter to accommodate the push rivets. [00:43]
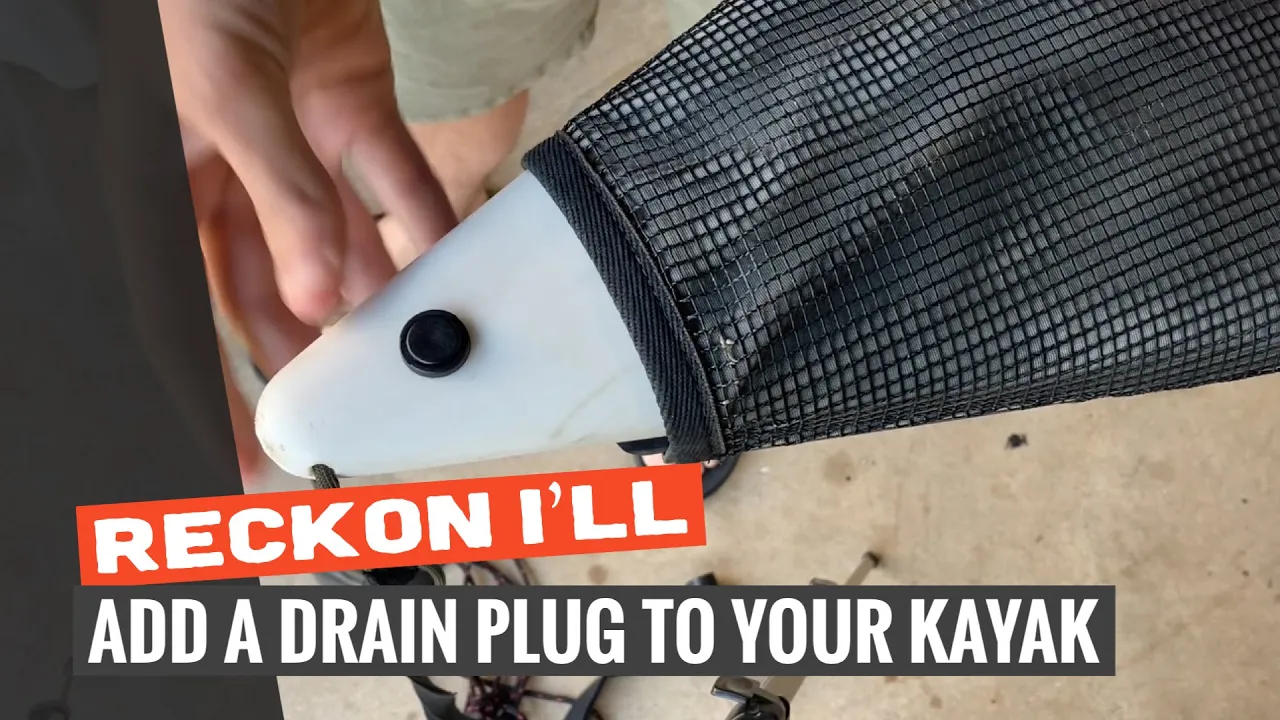
Step 3: Insert the Push Rivet
Insert the Dorman removable push rivet. These are designed for automotive splash shields and provide a secure, low-profile fit. Simply slide it in and push the center down to plug the hole when not in use. [00:54]
Step 4: Drain Away!
Whenever you have water pooling inside the hull of your kayak or Bass Buster, simply pull the rivet and tip the boat to clear out any nastiness. It is much more effective than many integrated center-drain plugs. [01:03]
Materials Needed
(May Contain Links that Earn Commission)