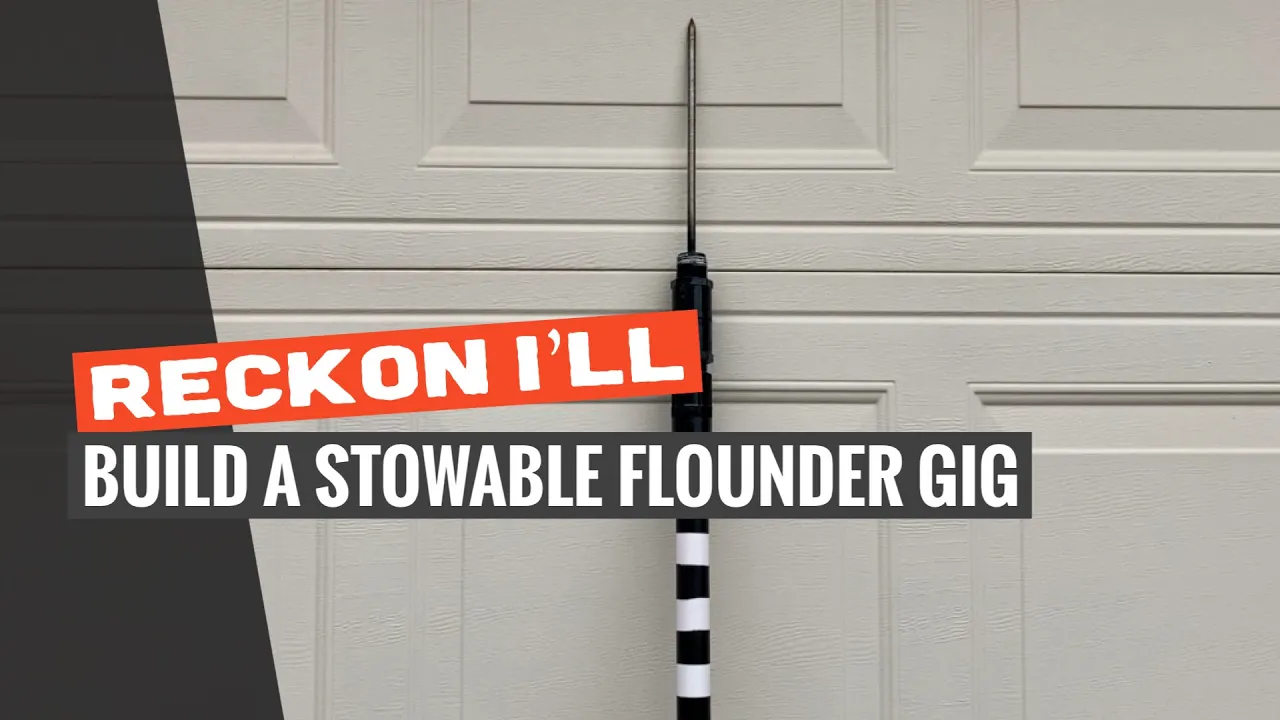
DIY: Build a Stowable, Cheap Flounder Gig
I only recommend products I believe in and use myself. If you purchase something using a link to an item on a post, I may earn a small commission at no additional cost to you. Read More
Similar to the custom flounder light, this gig is a specialized tool designed for wading rather than boat-based gigging. By using all-thread rod and a unique stowable PVC design, you get a sharp, effective gig that can be safely transported without exposing the point.


Step 1: Cut A 2.5” Length of Pipe
Start by cutting a short 2.5” section of pipe. This small piece becomes the internal spacer that helps lock the male adapters together and gives the hilt a solid core.
Step 2: Prepare A Length of All-Thread
Cut a 13” length of 3/8” all-thread. Lightly grip it with channel locks and thread a nut roughly 4” up the rod so it is ready to help secure the finished point.
Step 3: Sharpen the Gig
Firmly fasten the all-thread in a drill press so it can spin evenly. With an angle grinder resting guard-side down against the table, carefully sharpen the end of the bolt to a clean point.
Step 4: Assemble the Gig Hilt
Place a fender washer into one male adapter, then hammer in the 2.5” PVC section to seat the washer firmly. Add the second washer on top of the PVC and hammer the remaining male adapter into place.
Step 5: Secure the Gig to the Gig Hilt
Thread the sharpened gig through both washers. Once it is seated, use a deep socket to add and tighten the bottom nut so the point is locked securely into the hilt.
Step 6: Attach the Female Adapter
Cut a 1” PVC pole to whatever length feels right for the water you fish. Glue the female adapter to the end of the pole and let the joint cure fully before using it.
Step 7: Attach the Gig to the Pole
To use the gig, thread the point onto the pole. You can cap the threaded top, but leaving it open may reduce water resistance. To stow it, point the gig inward and screw it in so the sharp point is hidden.
Step 8: Paint Your Gig
The paint may not last forever, but it helps finish the build. Wrap rings of 1” painter’s tape along the pole, paint over them, and use the markings to help judge fish length in the field.
Materials Needed
(May Contain Links that Earn Commission)
•
1” PVC Pipe•
3/8” Stainless All-Thread Rod (13in)