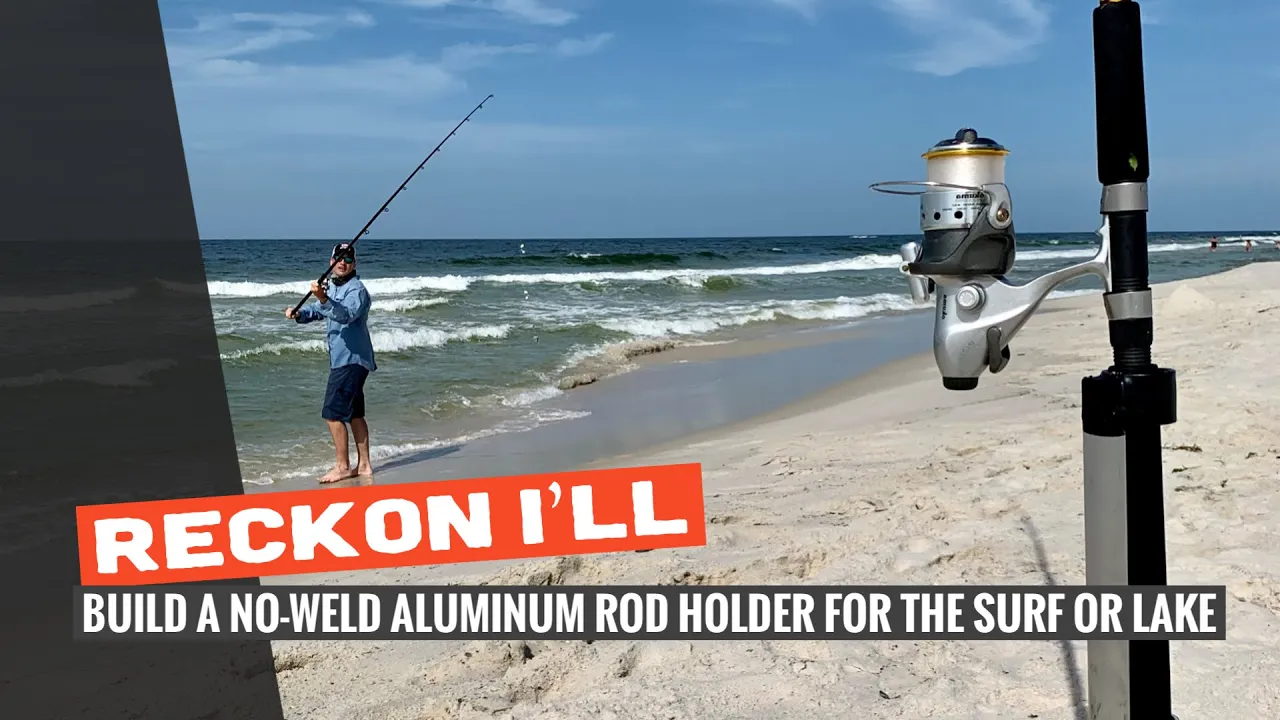
DIY: Build a No-Weld Fishing Sand Spike That Will Stand Up to the Surf
I only recommend products I believe in and use myself. If you purchase something using a link to an item on a post, I may earn a small commission at no additional cost to you. Read More
Warning: Working with power tools, cutting metal, and using tapping sets can be dangerous. Always wear safety glasses and gloves when cutting or grinding aluminum. This post is to give insight into my build process, but consult an expert if you're unsure of your tool handling.
I received some great feedback on an aluminum rod holder I built last year. You all liked the design, but the consensus was that aluminum is just too hard to weld for most folks without specialized gear. I set out to build one using only affordable tools you can find at any hardware store. This version uses the same proven design but relies entirely on stainless steel hardware.
Related Posts

DIY: Save Your Fish Bites and Fish Gum from Going Bad and Other Tips for Winterizing Your Surf Gear

DIY: Build A Tackle Storage System On A Surf Fishing Cart

DIY: Make a Surf Fishing Sand Spike That Stands Up to a Tsunami

DIY: Trick Out An Aluminum Pull Cart for Fishing the Surf

DIY: Build a Pump to Summon Ghost Shrimp to the Surface Fast!
Step 1: Cut the Aluminum Components
Start by cutting your 1.5″ aluminum angle iron to a 36″ length. This will be the main body of the holder. Next, cut a 4″ section of 2″ round tube for the bottom support. [00:23]

Step 2: Angle the Top Support
To ensure the top support sits flush against the angle iron without the screw obstructing your rod, cut one end a steep 25-degree angled piece of 2" round tube. This allows you to countersink a screw into the side of the tube while leaving plenty of clearance for the rod handle. [00:43]

Step 3: Point and Deburr the Stake
At the bottom of your angle iron, cut a 45-degree angle on both sides to create a point for the sand. Use an angle grinder with a cutoff disk, and immediately follow up with a flap disc to deburr all sharp edges. I also like to take a Dremel or a file to the inside of the round tubes so they don't scratch your rod handles. [01:05]

Step 4: Tap the Angle Iron
This is the "secret sauce" that replaces the weld. At the very top of the angle iron, drill a hole using a #7 bit and tap it with a 1/4″-20 tap. Measure down about 14-3/8″ from the top and repeat the process for your second mounting point. [02:37]

Step 5: Drill and Countersink the Supports
On the angled top support, drill a 1/4″ hole through the center of the angled cut and countersink it so the screw head sits flush. For the bottom support, drill a 1/4″ hole all the way through both sides of the tube. [02:05]

Step 6: Final Assembly
Thread the 3″ screw through the bottom round tube and into the lower tapped hole on the angle iron. For the top support, use your 1″ screw to go through the countersunk hole and into the top of the angle iron. Secure both on the back with Nyloc nuts to prevent snagging and keep everything tight. [03:30]

Step 7: Plasti Dip for Protection
To give it a professional finish and protect your rods, dip the top support into Plasti Dip. Drop it in slowly and pull it out slowly to avoid bubbles. I usually do three coats, waiting about 30 minutes between each. [04:00]

Materials Needed
(May Contain Links that Earn Commission)
•
1.5″ Aluminum Angle Iron, 1/8", (36″ length)•
2″ Aluminum Round Tube (two 4″ sections)Wrapping Up
It’s the same design everyone liked, but now it's a project anyone can tackle without needing a welder. It’s sturdy, corrosion-resistant, and perfect for a day at the surf. Give it a shot and see how it works for your setup!
