DIY: Pour A Flutter Jig for the Sand Bass Run in Texas
I only recommend products I believe in and use myself. If you purchase something using a link to an item on a post, I may earn a small commission at no additional cost to you. Read More
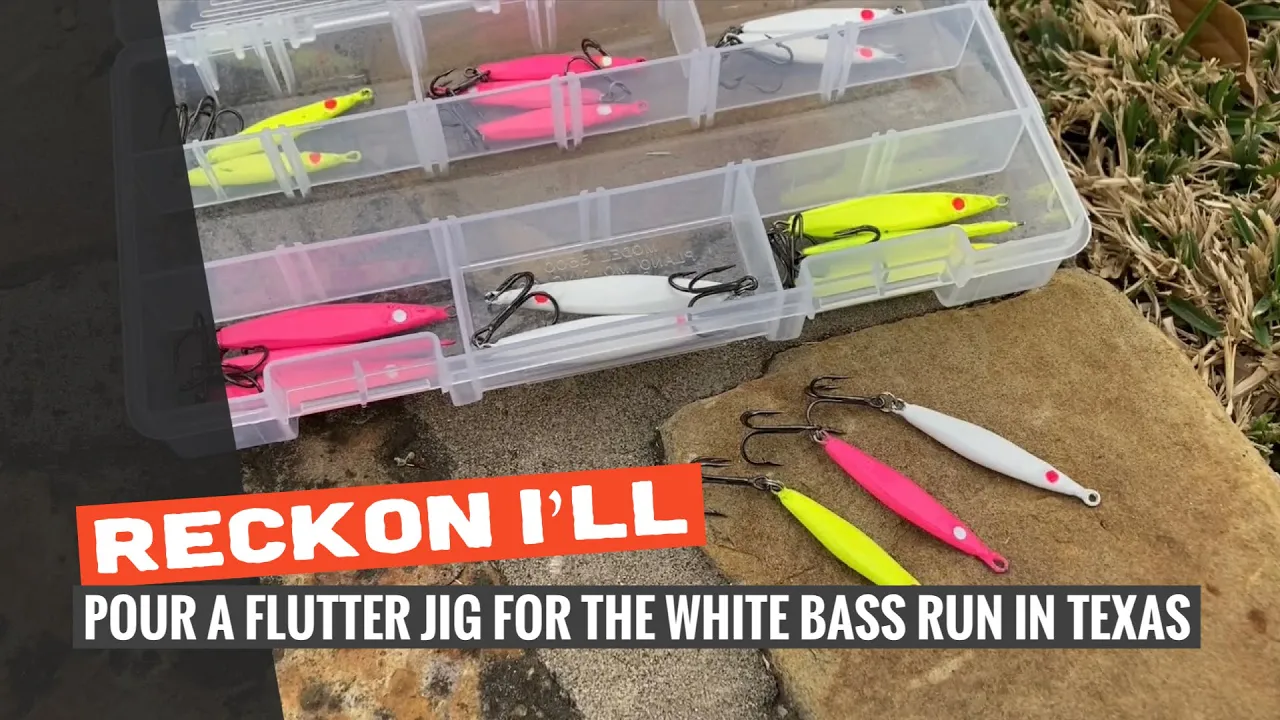
The flutter jig is a great tool to have in the arsenal when the sand bass bite is on during the early spring. Here is how I pour my own jigs to be ready during that special time of year.


Step 1: Prep the Mold
Prior to using the mold, light a candle and run the mold over the top of the flame until the entire mold is black with soot. This will help the lead release from the mold after pouring. [00:27]
Step 2: Heat Up The Lead (and the Mold)
Depending on the amount of pouring I plan to do, I use a Hot Pot or a simple cast iron sauce pan on a turkey fryer heating element. Working in a well-ventilated area, I heat up some fluxed lead until it's molten hot.
Tip: Find A Cheap Lead Hot Pot
My first lead hot pot was actually just a cast iron sauce pan...you can readily find these at World Market. Balance the mold on top of the lead melting pot to allow it to heat up too. A warmer mold allows the lead to flow better and not “cure” too quickly. [00:39]
Step 3: Pour A Test Run
Prior to putting any hardware in the mold, pour a few test runs to ensure the mold is good and warm. You can just toss these test pours back into the pot once they cool. [00:48]
Step 4: Place Your Wire Form
Using the wire or eyelets that match your mold, insert the hardware and carefully close the pre-warmed mold. I use a pair of pliers for this since the mold is hot. [00:55]
Step 5: Pour Your Flutter Jig
Carefully fill the mold by pouring directly from the hot pot or sauce pan. A quick, steady pour is key to ensuring the lead fills the entire cavity before it cools. [01:18]
Step 6: Clip and File
Using side cutters, clip off the excess lead (the sprue). [01:45] Use a file to remove the sharp edges left behind so the jig is smooth. [01:51]
Step 7: Powder Paint the Jig
Powder paint adheres to warm objects and cures rock hard. Use a heat gun to heat up the jig and plunge it into the paint. [02:07] Bake the jigs at 350°C for 15 minutes in a dedicated toaster oven to fully cure the finish. [02:23]
Step 8: Paint The Eyes
Using glossy acrylic paint, dab on some contrasting eyes using a small dowel rod or the end of a paintbrush. [02:35]
Step 9: Add the Hardware
Once dry, add your split rings and hooks. For 1/4oz jigs, I use a size 2 split ring and a size 6 treble hook. For the 1/2oz jigs, I use a size 2 split ring and a size 4 treble hook. [02:48]
Materials Needed
(May Contain Links that Earn Commission)
•
Bauer Heat Gun•
White Powder Paint•
White Acrylic Paint•
Pink Acrylic Paint•
Size 2 Split Rings•
Size 4 Treble Hooks•
Size 6 Treble Hooks•
Candle