DIY: Turning Lead into Silver? Pouring Your Own Fishing Sinkers and Jigs
I only recommend products I believe in and use myself. If you purchase something using a link to an item on a post, I may earn a small commission at no additional cost to you. Read More
If you haven’t noticed, my most recent blog posts have been heavily saltwater fishing focused with my upcoming trip to the coast. This post is going to be focused on making your own terminal tackle. If you haven’t experienced a shortage in the pandemic yet, it's bound to happen. Last year, there was an extreme shortage of 4oz. sinkers and I barely scraped by on my existing stock. This post highlights how I keep myself stocked up without the dependency on finding them in store.


Materials Needed
Lead Ingot
Sinker Mold (I prefer Do-It Molds for a tight fit) [00:00:07]
Cannonball Sinker Eyes (or jig hardware)
Cast Iron Sauce Pot
Heat Source
Candle
Step 1: Prepare the Mold
Prior to using the mold, light a candle and run the mold over the top of the flame until the entire mold is black with soot. This will help the lead release from the mold after pouring. [00:00:28]
Step 2: Heat Up The Lead (and the Mold)
Working in a well-ventilated area, heat up some fluxed lead until it's molten hot. I use welding gloves and a respirator for safety. [00:00:50]
Tip: Find A Cheap Lead Hot Pot – My first lead hot pot was actually just a cast iron sauce pan from World Market.
Warm the Mold: Balance the mold on top of the lead melting pot to allow it to heat up too. A warmer mold allows the lead to flow better and not “cure” too quickly. [00:01:30]
Step 3: Pour A Test Run
Prior to putting any hardware in the mold, pour a few test runs to ensure the mold is filling as expected. [00:01:41]
Tip: Pour Vs Bottom-Fill – Many available pots are bottom-fill. I prefer to pour as it seems to more quickly fill the mold so it doesn’t cure too fast—especially noticeable on the jig molds.
Step 4: Place Your Hardware
Using the wire or eyelets that match your mold, insert the hardware into the notches and carefully close the pre-warmed mold. [00:02:26]
Step 5: Pour Your Sinker/Jig
Carefully fill the mold by pouring directly from the hot pot or sauce pan. Let it spill over slightly to ensure a full form. [00:02:42]
Step 6: Clip Off the Excess
Once the lead solidifies, open the mold and use side cutters to clip off the excess lead (the "sprue"). [00:03:22]
Step 7: File It Pristine
Remove any remaining burrs using a file until the surface is smooth. [00:03:49]
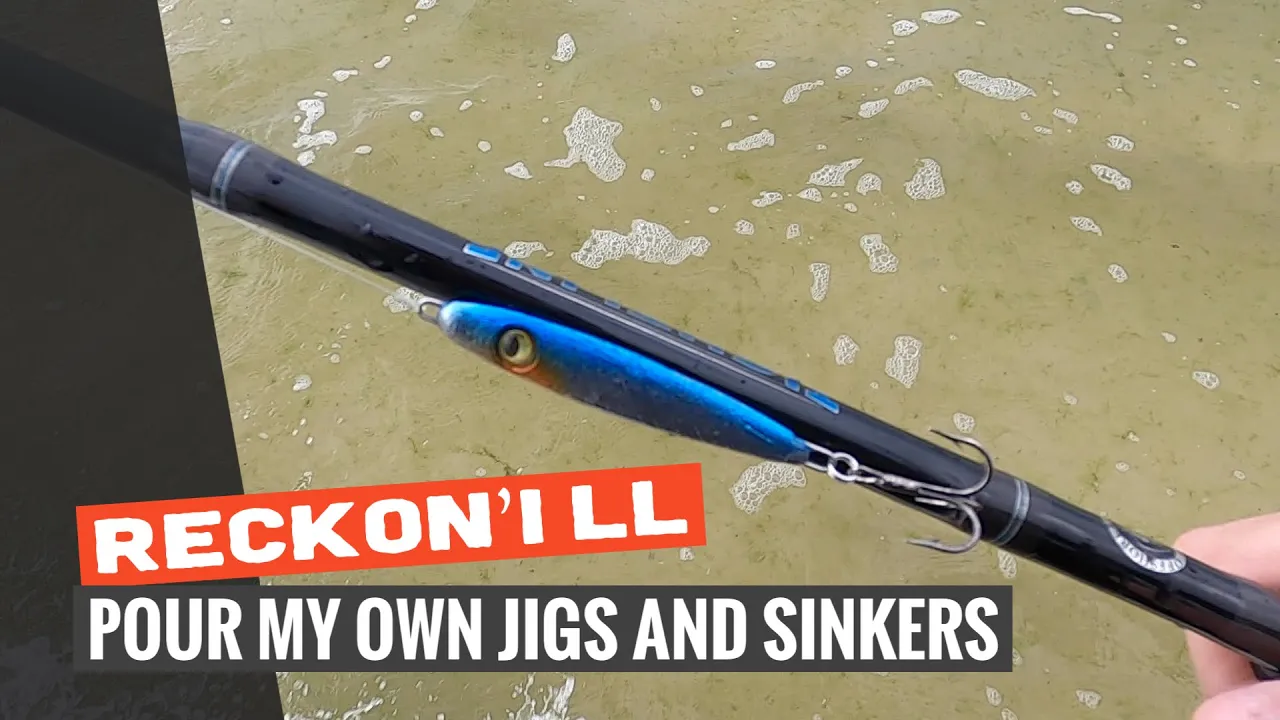
Make ‘Em Beautiful
If you are pouring sinkers, you are done! As you can see, I’m pouring jigs; in an upcoming post, I’ll show you how I give them eyes, paint them with an airbrush, and clear-coat them to bring them to life.
Materials Needed
(May Contain Links that Earn Commission)
•
Lead Ingot•
Candle