DIY: Sew A Fleece Dump Pouch for My Hunting Saddle
I only recommend products I believe in and use myself. If you purchase something using a link to an item on a post, I may earn a small commission at no additional cost to you. Read More
Warning: Homemade gear should be tested at ground level before being used in a tree. Ensure all stitching is secure and capable of holding the weight of your ropes and accessories. This post is for informational purposes only; hunt at your own risk.
After seeing a post on saddlehunter.com from the user "Scale," I was inspired to make my own fleece dump pouch for my hunting saddle. Fleece is a great material for this because it’s quiet in the woods and has just enough stretch. I’ve modified the attachment method to use tri-bar slides rather than snaps, which I find stays more secure on the molle webbing.


Step 1: Prepare the Fleece
Cut a 21.5″ x 12.5″ section of fleece. Crucial Tip: Fleece typically only stretches in one direction. You want the stretch to go laterally (left to right) across the pouch, not vertically. This ensures the bag expands out to hold your gear rather than sagging down toward the ground. [00:00:20]
Step 2: Hem the Top Corners
Fold over the top corners of your fabric. I measured over one inch and down three inches for the fold. Stitch these in place using a backstitch to lock the thread. I prefer to use the foot pedal for speed and then hand-turn the knob when I get close to the edges for better precision. [00:00:30]
Step 3: Sew the Shock Cord Channel
Fold over the top edge of the fabric and run a single stitch along the bottom to prevent unraveling. Then, pin down a channel large enough for your shock cord and run a second parallel stitch. This creates the "tunnel" that will allow you to draw the bag shut later. [00:01:07]
Step 4: Attach the Webbing Straps
Cut two 10-inch sections of 1" webbing and sear the edges with a lighter so they don't fray. Add your tri-bar slides to the webbing. To position them, find the center of the fleece and use double-sided tape to hold the straps in place. You want one width of webbing as a gap between the two straps to line up with standard molle. [00:02:18]
Step 5: The Box-X Stitch
To secure the webbing to the fleece, use a "Box-X" stitch. This is a continuous stitch that forms a square with an 'X' in the middle. It’s the same stitch used on climbing harnesses because it’s incredibly strong. Take your time, bury the needle to turn the corners, and get as close to the edge of the webbing as possible. [00:02:40]
Step 6: Form the Pouch and Square the Bottom
Fold the fleece in half with the "inside" facing out and sew the sides closed with two parallel passes for extra strength. [00:04:11] To give the pouch a squared-off bottom, flatten out the bottom corners and run two stitches across them. Trim the excess fabric on the outside of these new stitches, then flip the bag right-side out. [00:04:32]
Step 7: Install the Shock Cord
Feed a length of 1/8″ shock cord through the channel you created in Step 3. Slide on your cord lock stopper and tie a simple overhand knot. Singe the ends of the shock cord to keep it clean. [00:05:27]
Wrapping Up
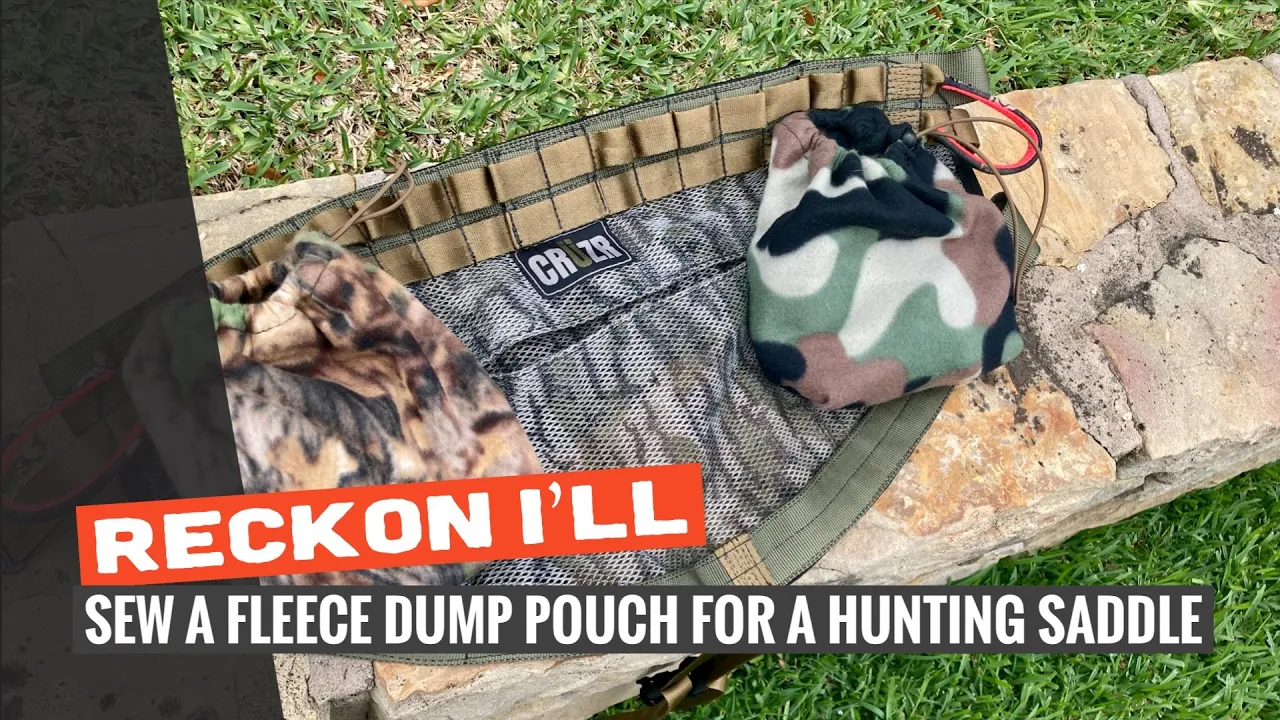
To attach these to your saddle, I recommend pulling the straps down through the molle and folding the top of the bag over the top of the saddle rail. This creates tension on the tri-bar slides and keeps the pouch from bouncing around while you're climbing. It’s a quiet, custom solution that saves money over retail versions. Hope it helps y'all! [00:06:02]
Materials Needed
(May Contain Links that Earn Commission)
•
Fleece Fabric (21.5″ x 12.5″ section)•
Double-Sided Tape