DIY: Install A USB Charger In A Hunting Buggy
I only recommend products I believe in and use myself. If you purchase something using a link to an item on a post, I may earn a small commission at no additional cost to you. Read More
On most hunts, I’m happy not to even have a phone as I think it distracts me and takes me out of the moment. BUT, I also use my hunting buggy for getting the kids out at the property or at home and inevitably I find need for a USB charger, be it for the phone or a GoPro.
The instructions below describe how I recently added a USB charger to my buggy.


Step 1: Disconnect Power
Before you do any electrical work, put your cart in Tow and disconnect the negative side of the battery. This protects your controller from any accidental shorts. [00:09]
Step 2: Prep the Console
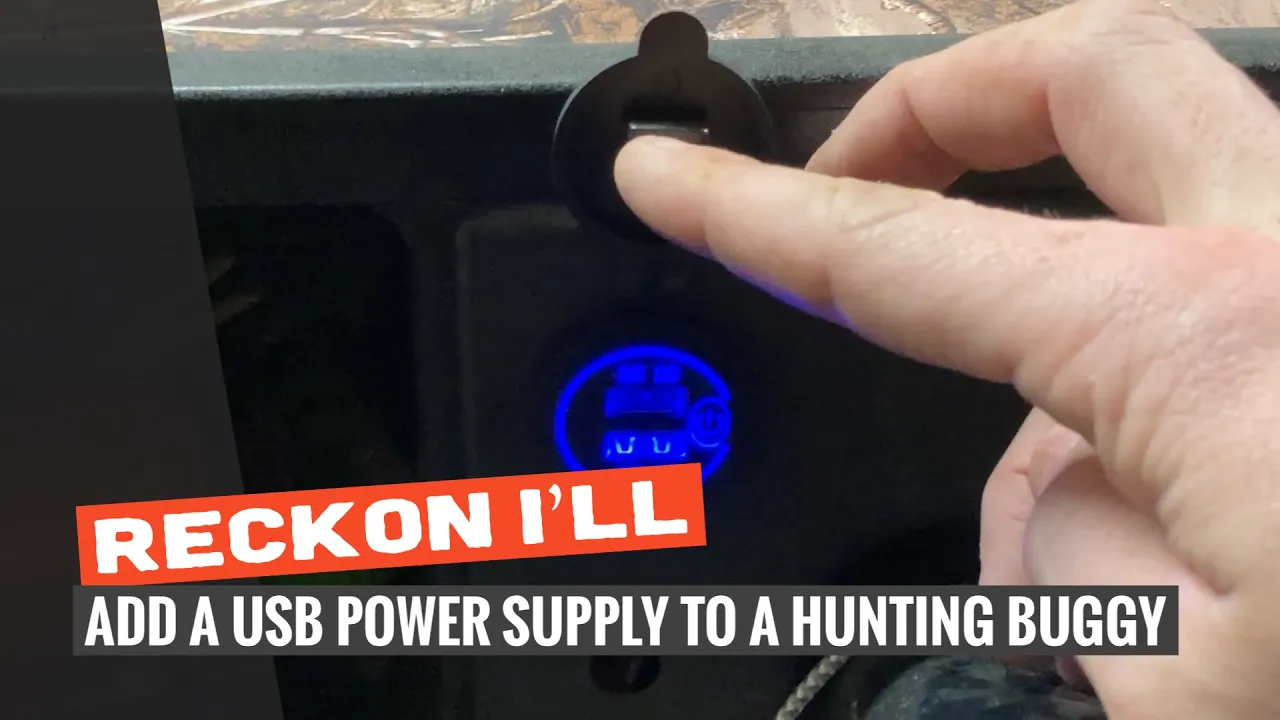
Unscrew the plastic console or dash. I chose a spot right next to the battery indicator. Use a 1-inch step bit to drill the hole for the adapter. [00:25]
Step 3: Install the USB Outlet
Insert the USB adapter into the console and secure it from the back with the backing nut. [00:35]
Step 4: Prepare the Wiring
Crimp female disconnect terminals onto long lengths of 14-gauge automotive wire. Using different colors for positive and negative helps keep the circuit organized. [00:43]
Step 5: Fish and Connect Wire
Fish the wire through the undercarriage and up to the dash, following existing wire protectors. Attach the female disconnects to the back of the USB outlet. [01:04]
Step 6: Attach Spade Connectors
Fish the other ends of the wires to your fuse box and cut them to length. Crimp spade connectors onto the ends.
Tip: If you're out of spade connectors, clip a section out of a ring terminal to create a makeshift spade. [01:35]
Step 7: Connect to the Fuse Box
Connect the negative wire to the negative bus bar and the positive wire to an open fuse point. Insert a 10-amp fuse to protect the circuit. [01:48]
Step 8: Reconnect Power and Test
Reconnect the negative battery cable and move the cart to Run. Turn on the cart and verify power to the USB—this model has a blue LED indicator. Once confirmed, screw the dash back in. [02:06]
Materials Needed
(May Contain Links that Earn Commission)
•
14ga Automotive Wire (red and black)•
Female Disconnect Terminals•
Spade Terminals•
Zip Ties