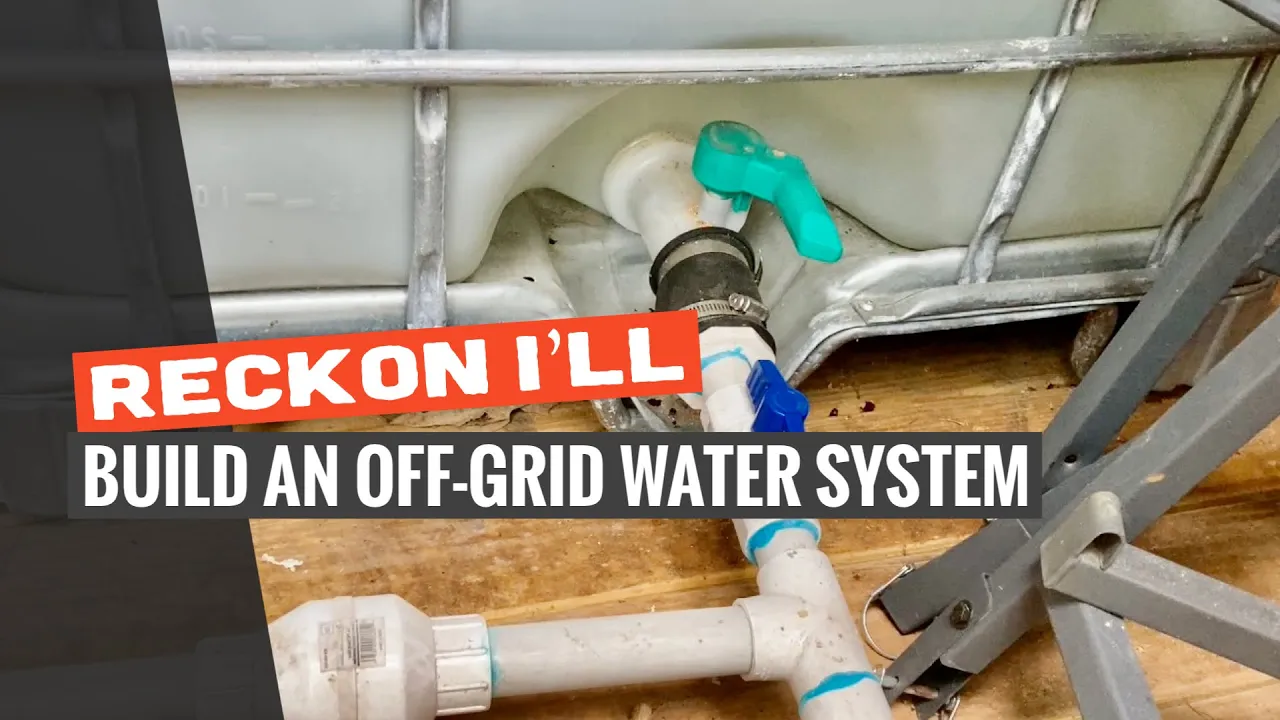
DIY: Designing an Off-grid Water System for Hunting/Fishing Camp
I only recommend products I believe in and use myself. If you purchase something using a link to an item on a post, I may earn a small commission at no additional cost to you. Read More
Disclaimer: The post is for demonstration purposes only. All modifications and usage of this information should be considered at your own risk.
Having a reliable water source is a game-changer for any hunting or fishing camp. This system is designed around a single shallow well pump that handles everything from pulling water in to distributing it throughout camp—including hot water!
Part I: Connecting the Water Source
Step 1: Mount the Rubber Coupling to the Tank and the Reducer Bushing
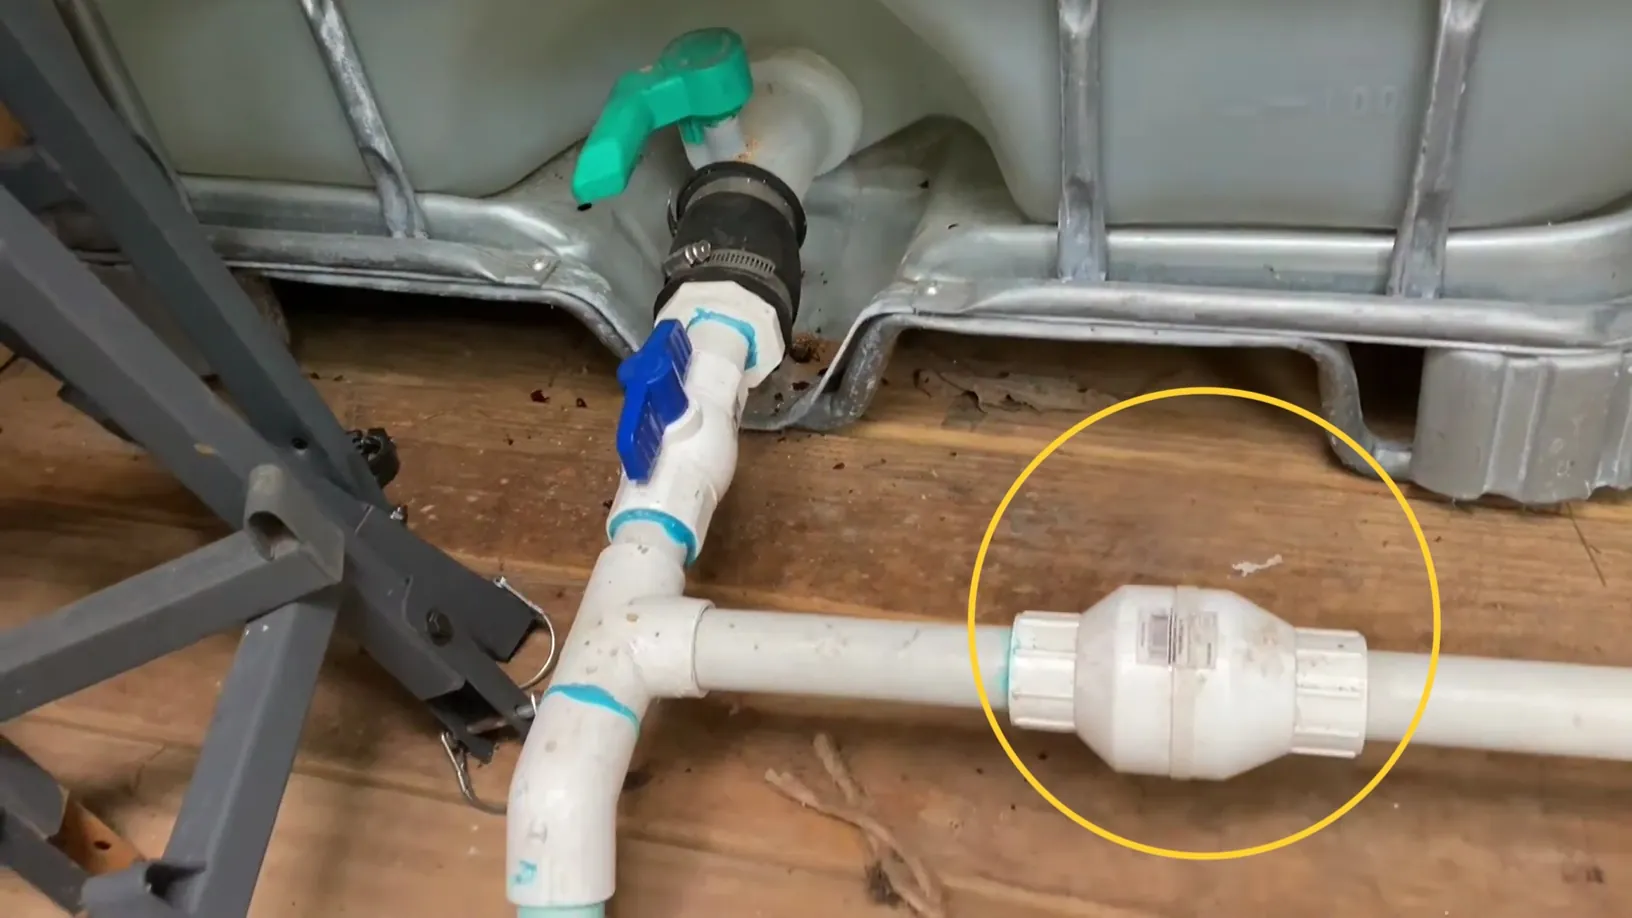
Slide the 2-in. Flexible PVC Coupling directly over the raw, coarse buttress threads of the IBC Tote Tank outlet valve. Tighten the first stainless steel hose clamp firmly to create a secure, airtight foundation.
Press the 2" outer diameter of the 2-in x 1-in Schedule 40 PVC Reducing Bushing into the open end of the flexible coupling. Secure it completely by tightening down the second stainless steel hose clamp.

Step 2: Extend the Primary 1" Line and Install the Main Shutoff Valve
Solvent-weld (glue) a section of 1" PVC Schedule 40 Pipe directly into the internal 1" slip socket of the reducing bushing.
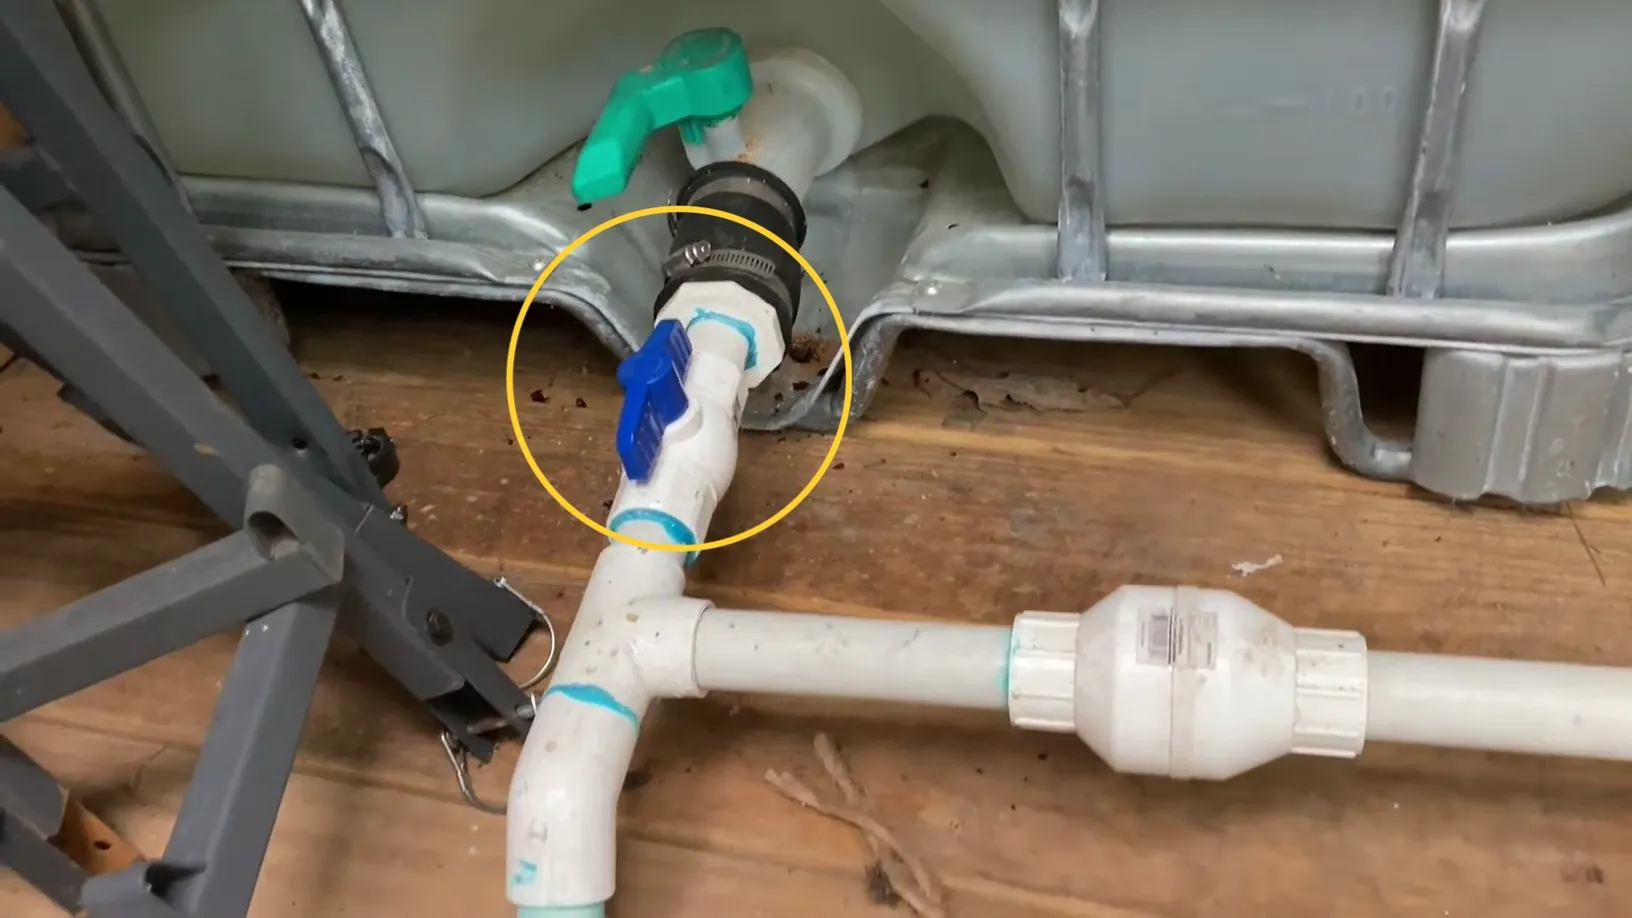
Glue the 1" PVC Ball Valve onto the newly extended 1" pipe segment. This serves as your primary gravity-fed isolation control for the entire source tank.
Step 3: Assemble the Auxiliary Drain Tee
Attach a 1" PVC Tee directly after the ball valve. Orient the branch leg facing downward (if possible) to function as your low-point system drain.
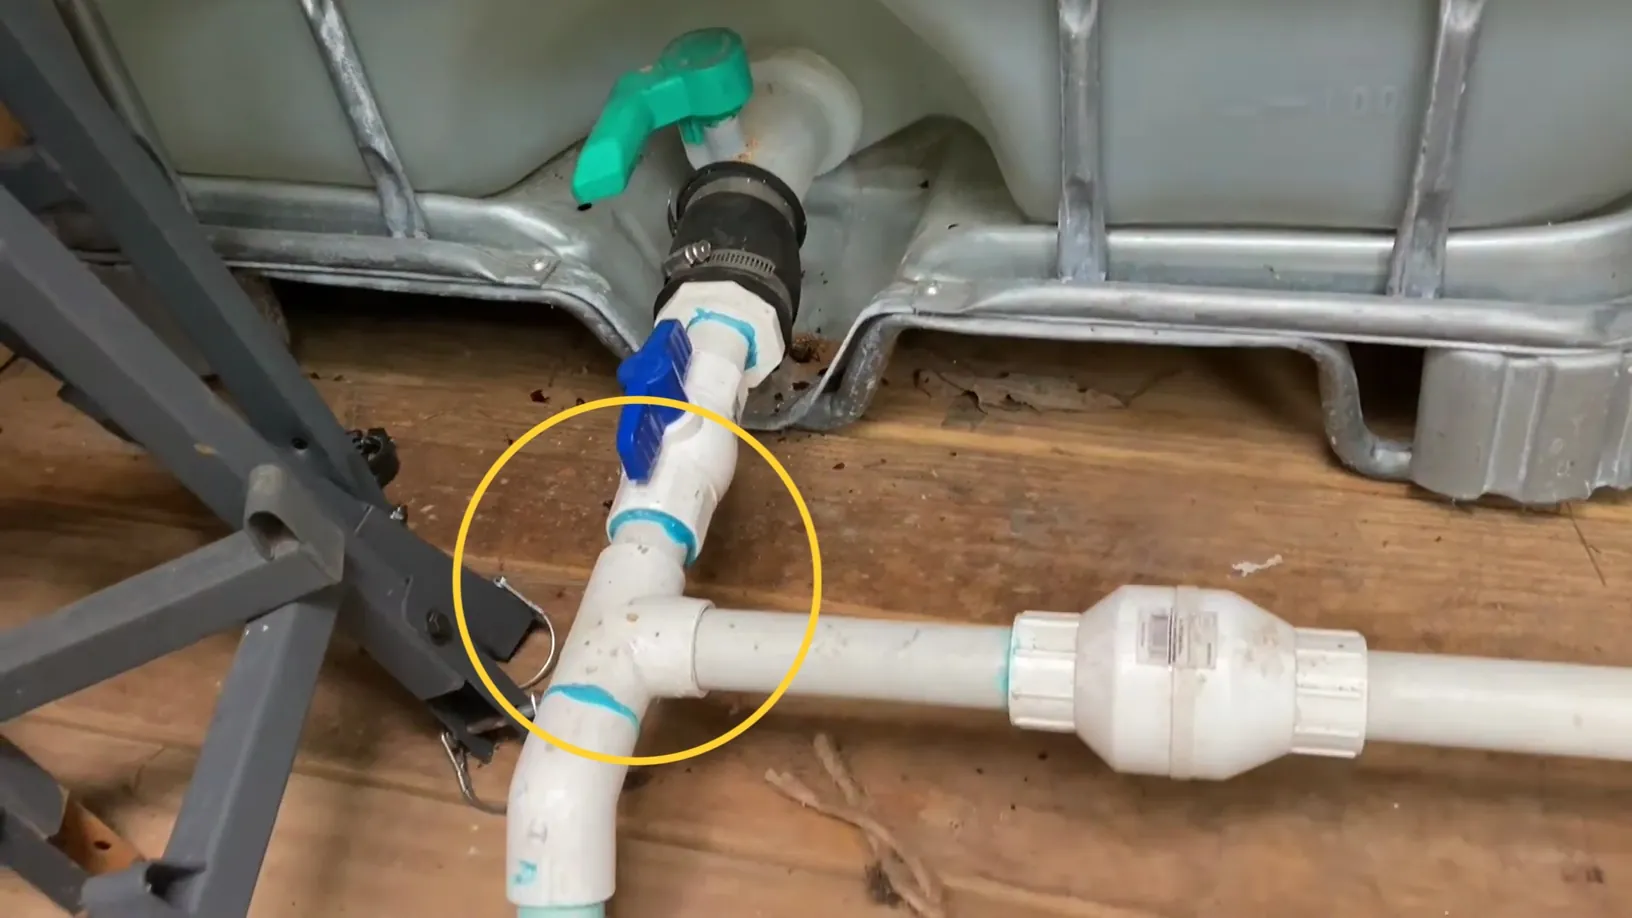
Step 4: Route the Line toward the Ground
Use the two 1" PVC 45-Degree Elbows and short sections of 1" pipe to offset and steer the plumbing path cleanly downward.
This leg's primary purpose will be to attach a PVC "wand" for intake out of an external trucked in water source.
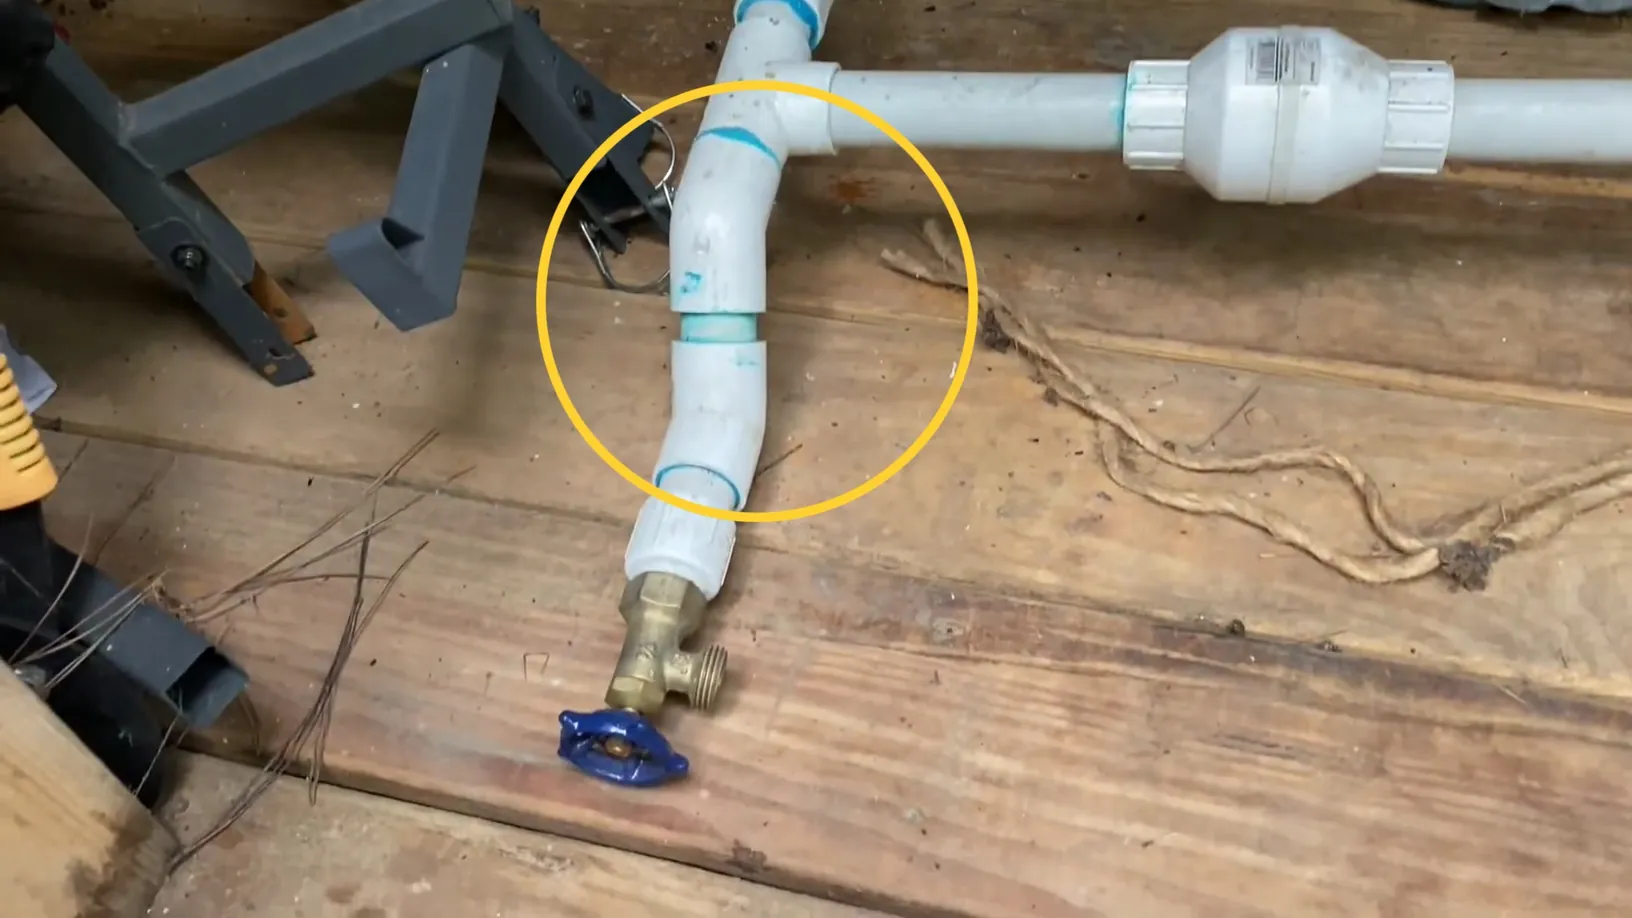
Step 5: Enable Attachment of Garden Bib
Glue the 1" slip side of the 1" Slip x 3/4" MIP Fitting into the bottom branch port of the tee leg.
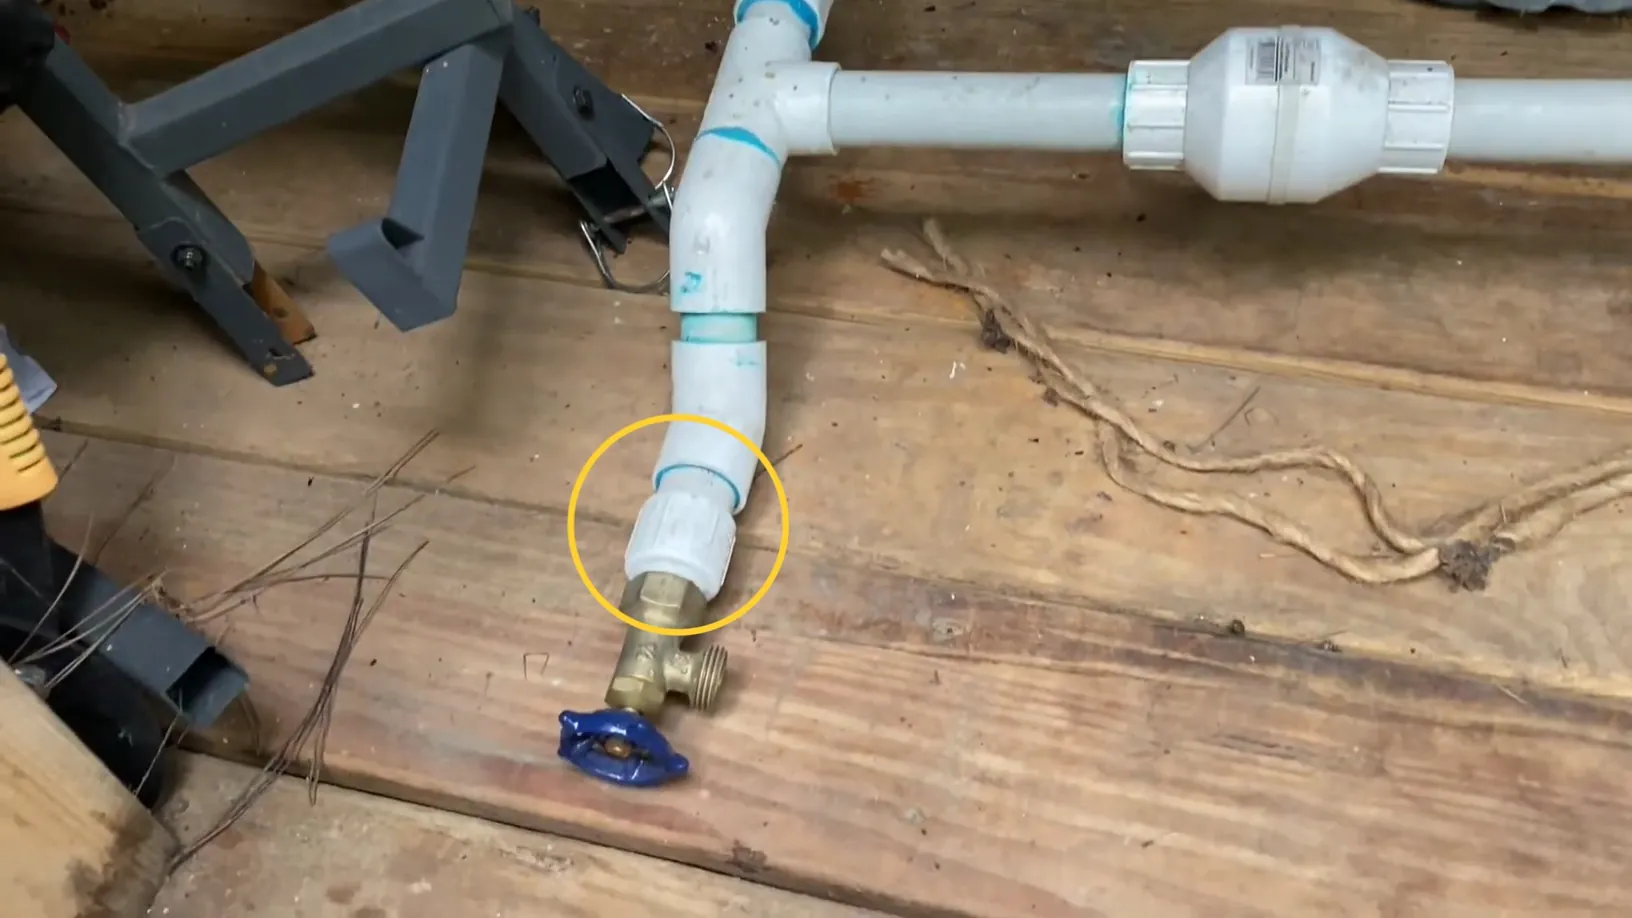
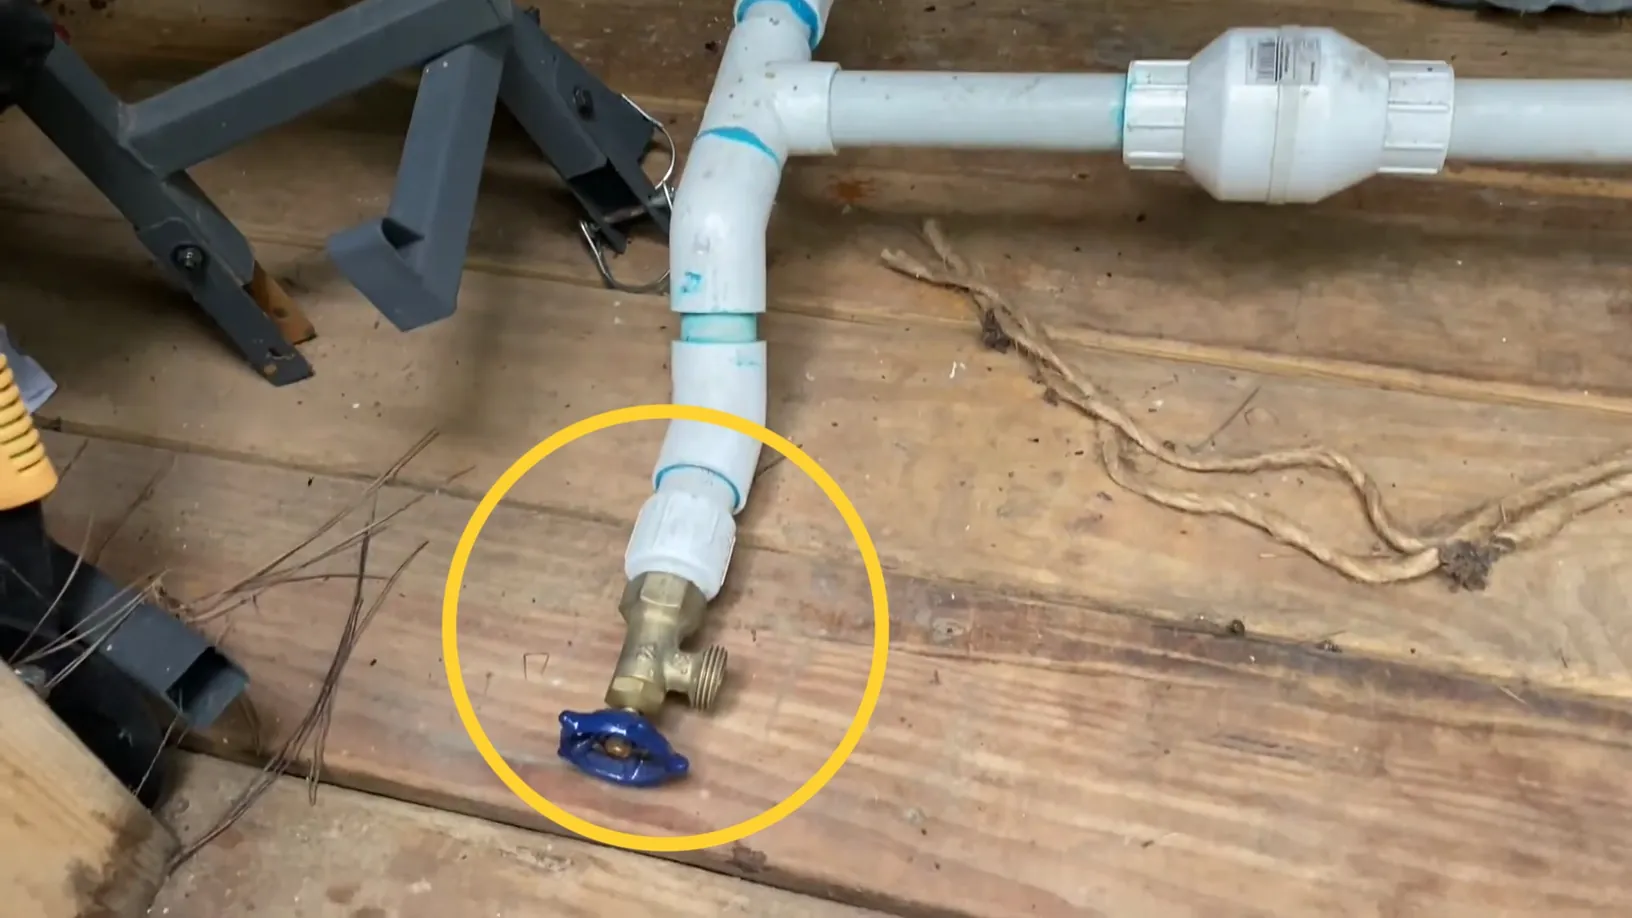
Step 6: Adapt and Install the Garden Valve
Thread the 3/4-in FIP x 3/4-in MHT Brass Multi-Turn Inverted Nose Garden Valve onto the exposed male threads to complete your suction/intake leg.
Step 8: Mount the Inline Check Valve
On the other straight run out of the tee, install the 1" PVC Inline Spring Check Valve. This ensures water can only move forward toward the pump and guarantees the system holds its prime when the pump cycles off.
Materials Needed
(May Contain Links that Earn Commission)
•
IBC Tote Tank•
1" PVC Schedule 40 Pipe (as needed by project layout)Part II: Connecting the Pump
Step 1: Make the Supply Run To the Pump
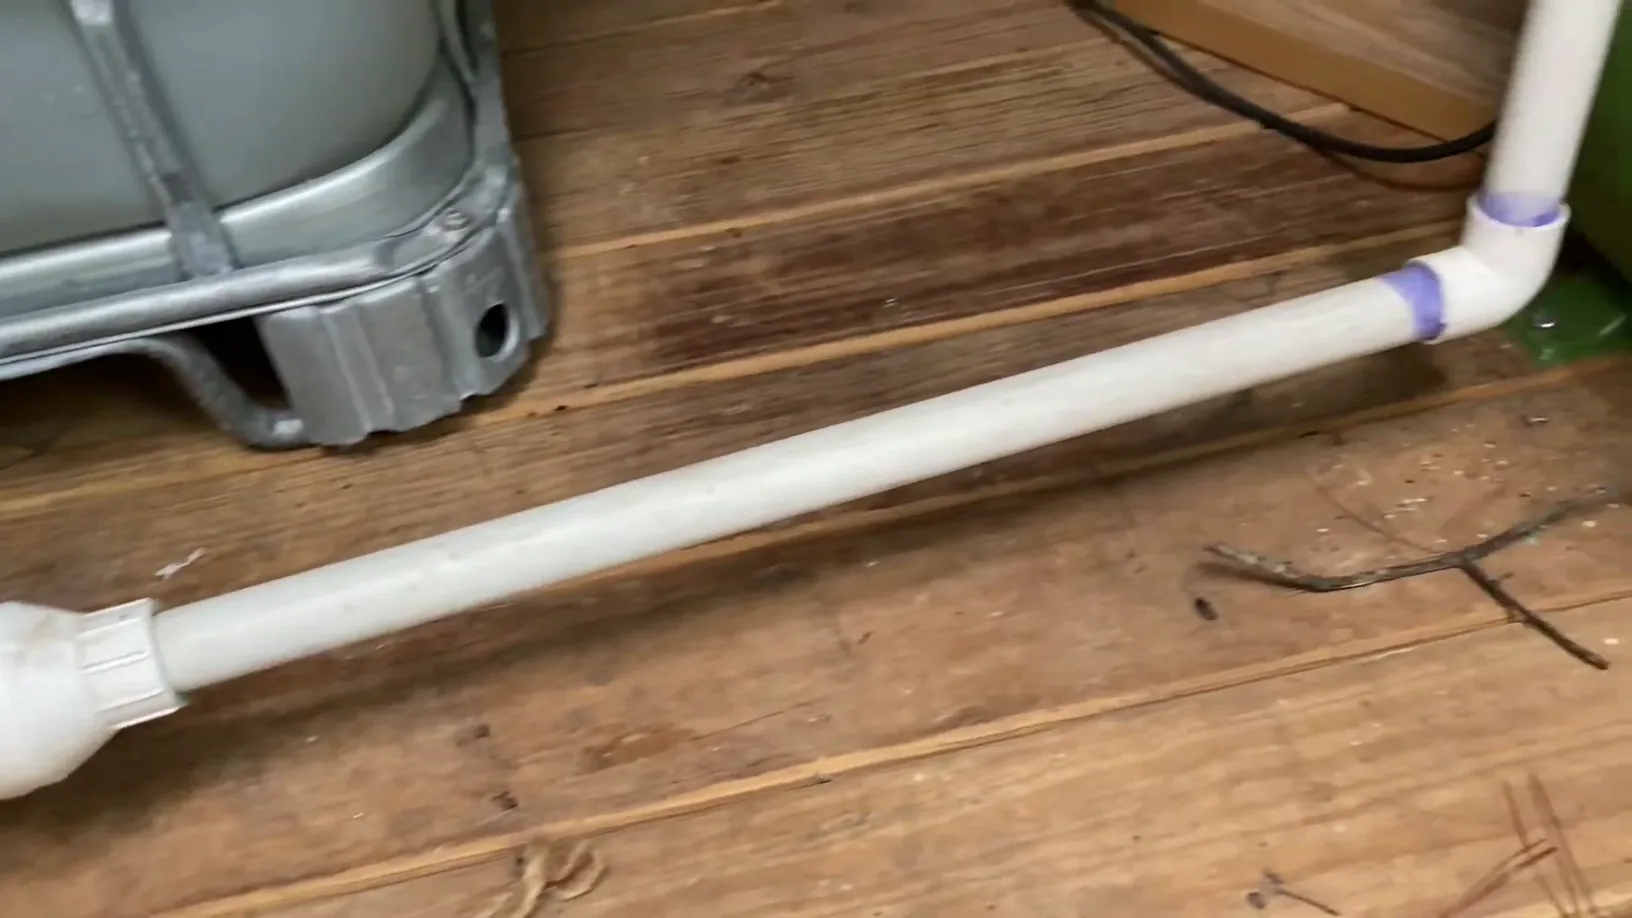
Run your pump supply line out of the check valve to your pump.
Step 2: Install the Pump Intake Fitting
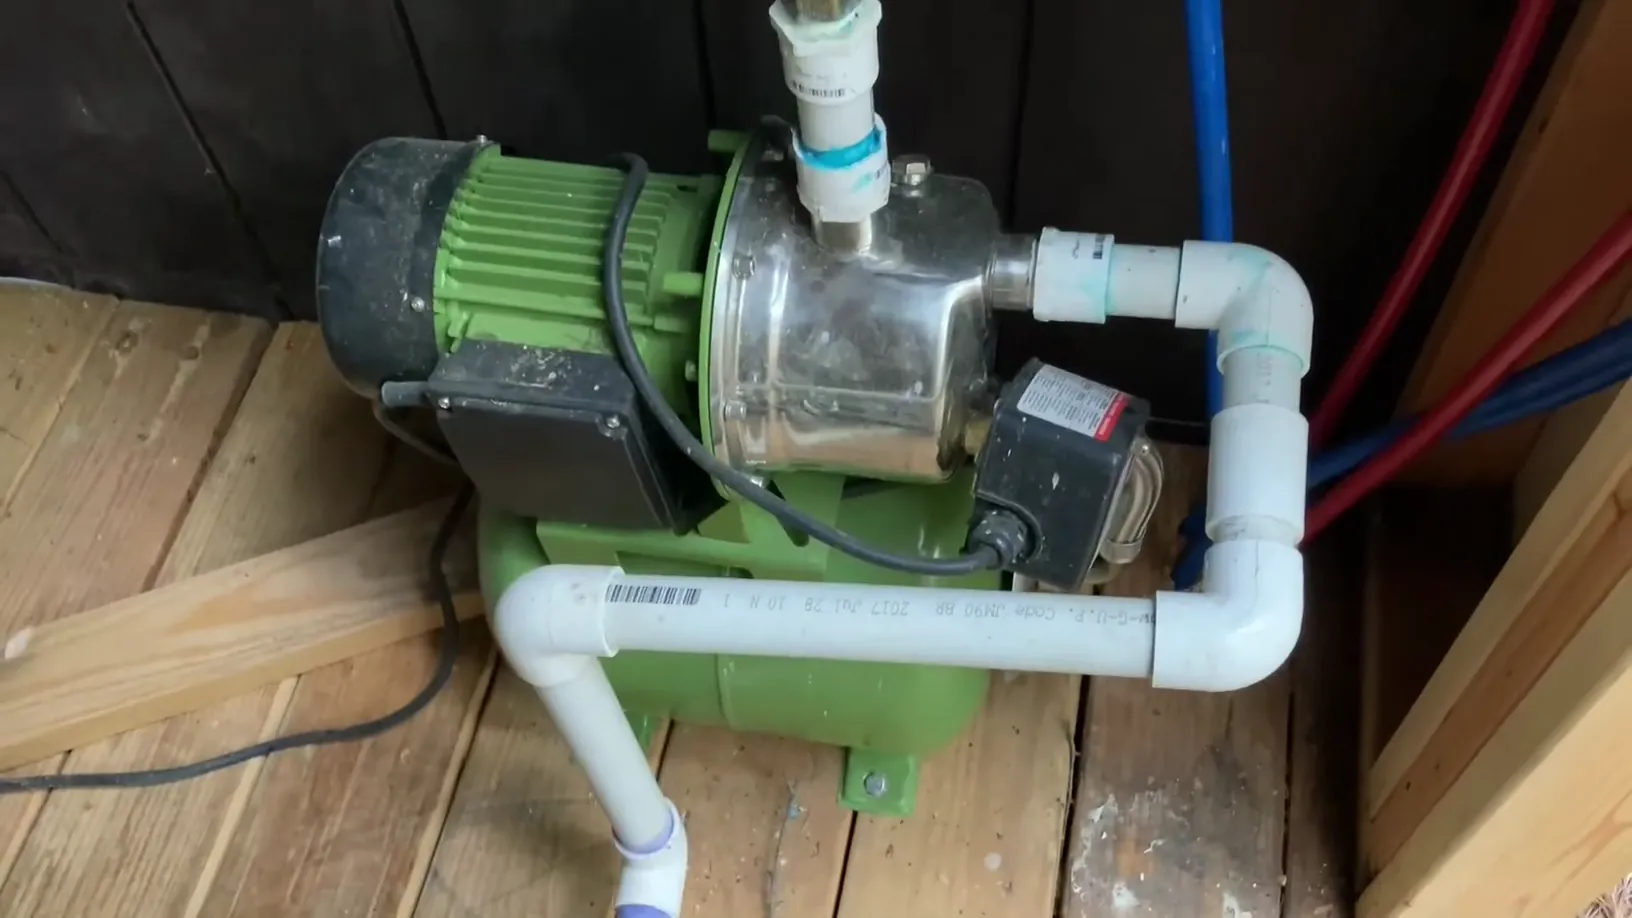
Thread a 1" Slip x 1" MIP Fitting securely into the 1" female threaded front suction port of your Shallow Well Pump using thread sealant tape.
Thread your second 1" Slip x 1" MIP Fitting into the top vertical discharge port of the pump housing. Glue a short section of 1" PVC pipe vertically into this fitting.

Step 3: Plumb the Rigid Intake Framework
Use sections of 1" PVC Schedule 40 Pipe and the 1" PVC 90-Degree Elbows (up to 4 as your physical layout requires) to bridge the distance up from the ground-level check valve and run directly into the pump's front intake fitting.
Step 4: Reduce the Discharge Line Size
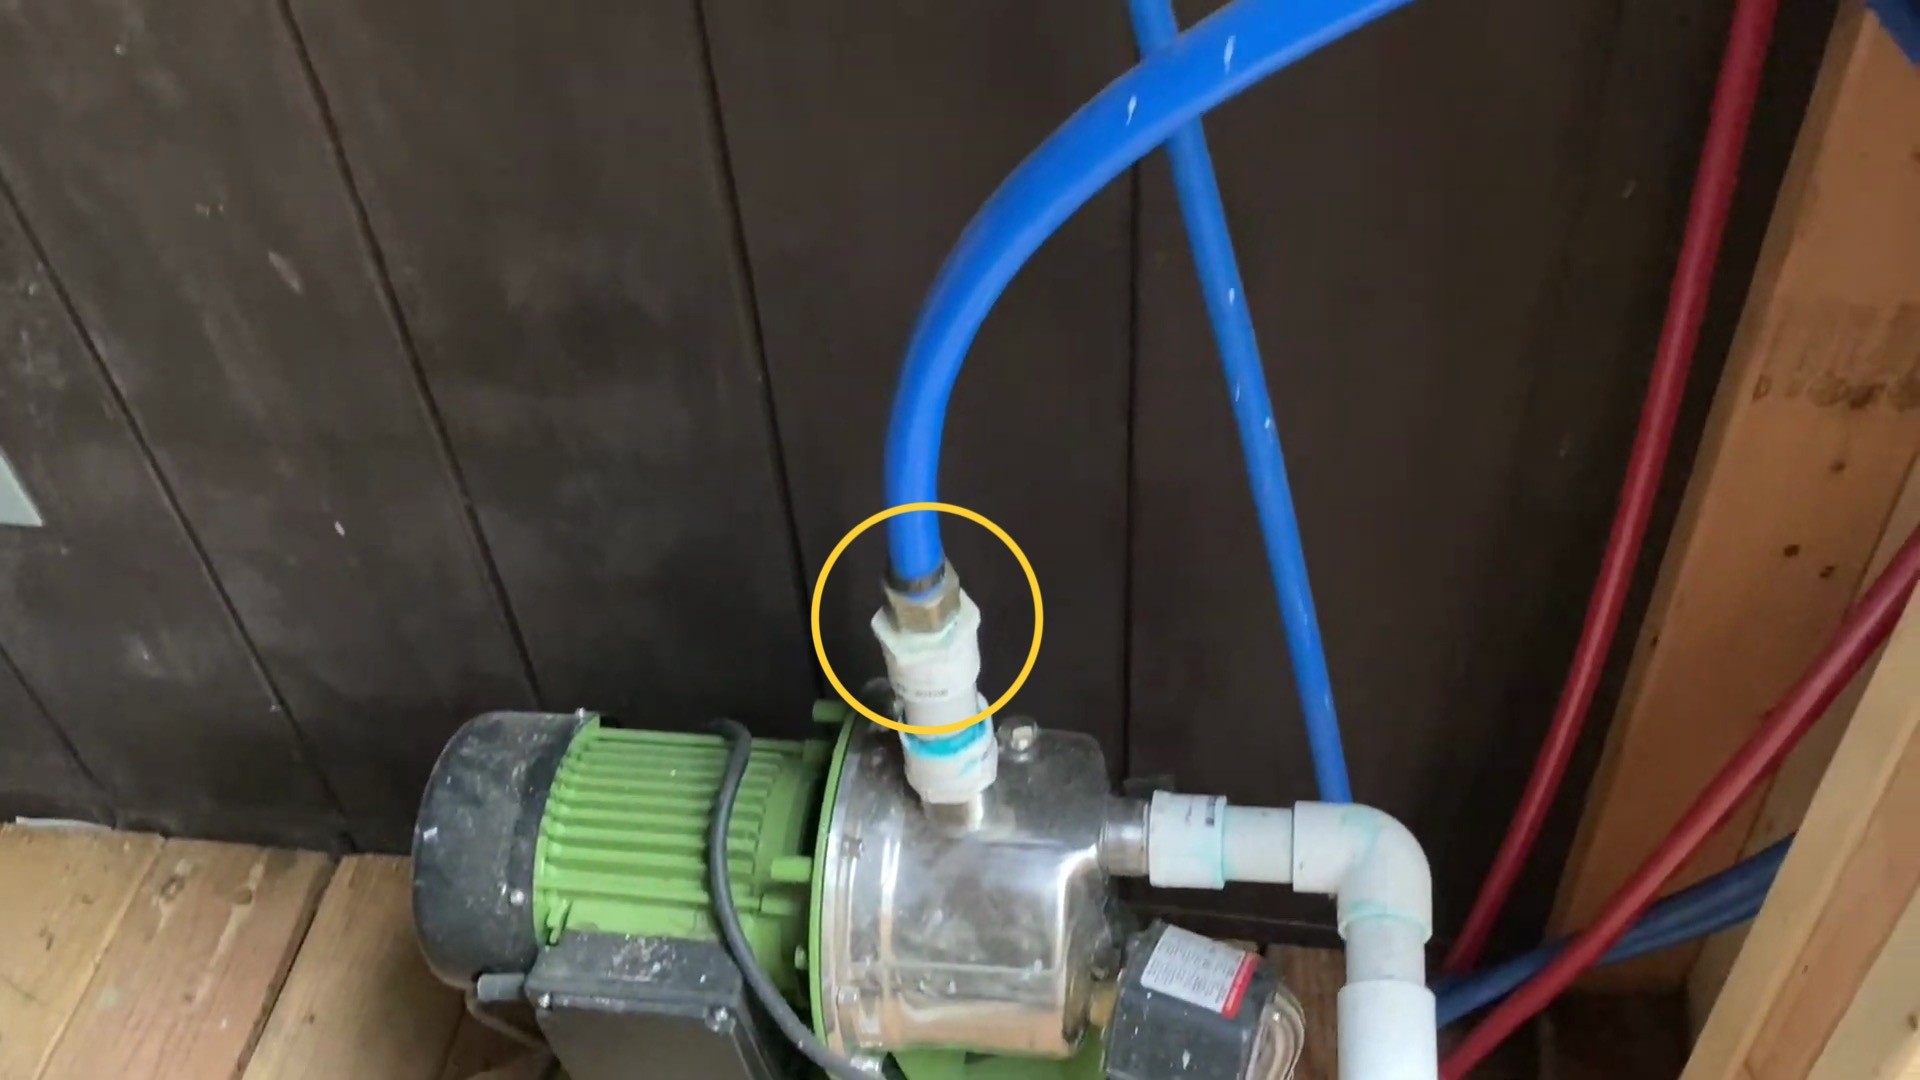
Glue the 3/4" Male Adapter x 1" Slip Reducer onto that vertical 1" pipe segment. This steps the rigid PVC infrastructure down and leaves you with a 3/4" male threaded connection point.
Thread the 3/4 in. Brass PEX-B Barb x 3/4 in. FNPT Adapter directly onto the exposed 3/4" male threads of the reducer fitting. This leaves you with a clean PEX barb ready to supply the rest of the camp layout.
Connect a length of 3/4" cold line with a crimp sleeve.
Materials Needed
(May Contain Links that Earn Commission)
Part III: Connecting the the Distribution System
Step 1: Feed the Cold-side Pex Manifold
After connecting your 3/4" Pex line to the pump's discharge barb and run it up to your utility backing board. Crimp the other in to the intake side of your open pex manifold. Attach a short lenght of 3/4" pex off the discharge side of the open manifold.

Step 2: Install the Individual Cold Water Supply Lines
Run your individual 1/2" Pex lines off the manifold's branch outlets using 1/2" PEX Crimp/Clamp Rings to supply cold water.

Step 3: Install the Cold Manifold Isolation Valve
Install a 3/4 Pex Inline Ball Valve using a 3/4" PEX Crimp/Clamp Ring to allow system isolation.

Step 4: Splice the Water Heater Supply Line
Extend the 3/4" PEX line out of the open end of the cold manifold and install the 3/4 in. Push-to-Connect Brass Tee Fitting inline.

Step 4: Mount the Thermal Expansion Tank
Connect the top port of your Thermal Expansion Tank directly into the bottom branch port of the push-to-connect Tee fitting using a length of 3/4" pex line and the 3/4 FNPT to 3/4 PEX Fitting.
The tank will safely absorb system thermal expansion pressure.

Step 5: Attach the Tank with Strapping
Use strapping to anchor the tank to the wall.

Step 6: Plumb the Water Heater Connections
Run the remaining 3/4" PEX line from the run side of the Tee over to the water heater tank. Thread your 3/4 FNPT to 3/4 PEX adapters directly onto the water heater's inlet and outlet ports to lock the PEX lines seamlessly in place without needing independent braided hoses.

Step 6: Feed the Hot Water Manifold
Run a 3/4" Pex line (red color-coded) from the water heater's hot outlet port straight into the supply connection of your Closed-end Pex Manifold (Hot-side).

Step 7: Route Hot Water to the House
Crimp your hot 1/2" Pex distribution lines onto the hot manifold ports using 1/2" PEX Crimp/Clamp Rings to complete the hot water supply network for the home fixtures.

Materials Needed
(May Contain Links that Earn Commission)
•
3/4" Pex and 1/2" Pex (as project demands)Tools Needed
(May Contain Links that Earn Commission)
Part IV: Using the System
Using the in the Cabin
The first time you do this, the pump will not be primed, so follow the instructions to pour some water into your pump to prime it.
I'm assuming you've put a couple 5 gal buckets in your IBC tote, but you can also prime off an external source. To start the system:
Prime your pump
Open the inline valve from Step 2 of Part I as well as the valve on the IBC tank
Open all valves along the system.
When a faucet or hose is turned on, the pump will call for water and pull water out of the IBC tote.
Transferring Water to the System
The best thing about the system is it allows you to use the same shallow well pump to run the system and also transfer water into the system.
This is accomplished by allowing the supply source to be changed via a valve and running the external water source through the system and back into the main tank as outlined below:
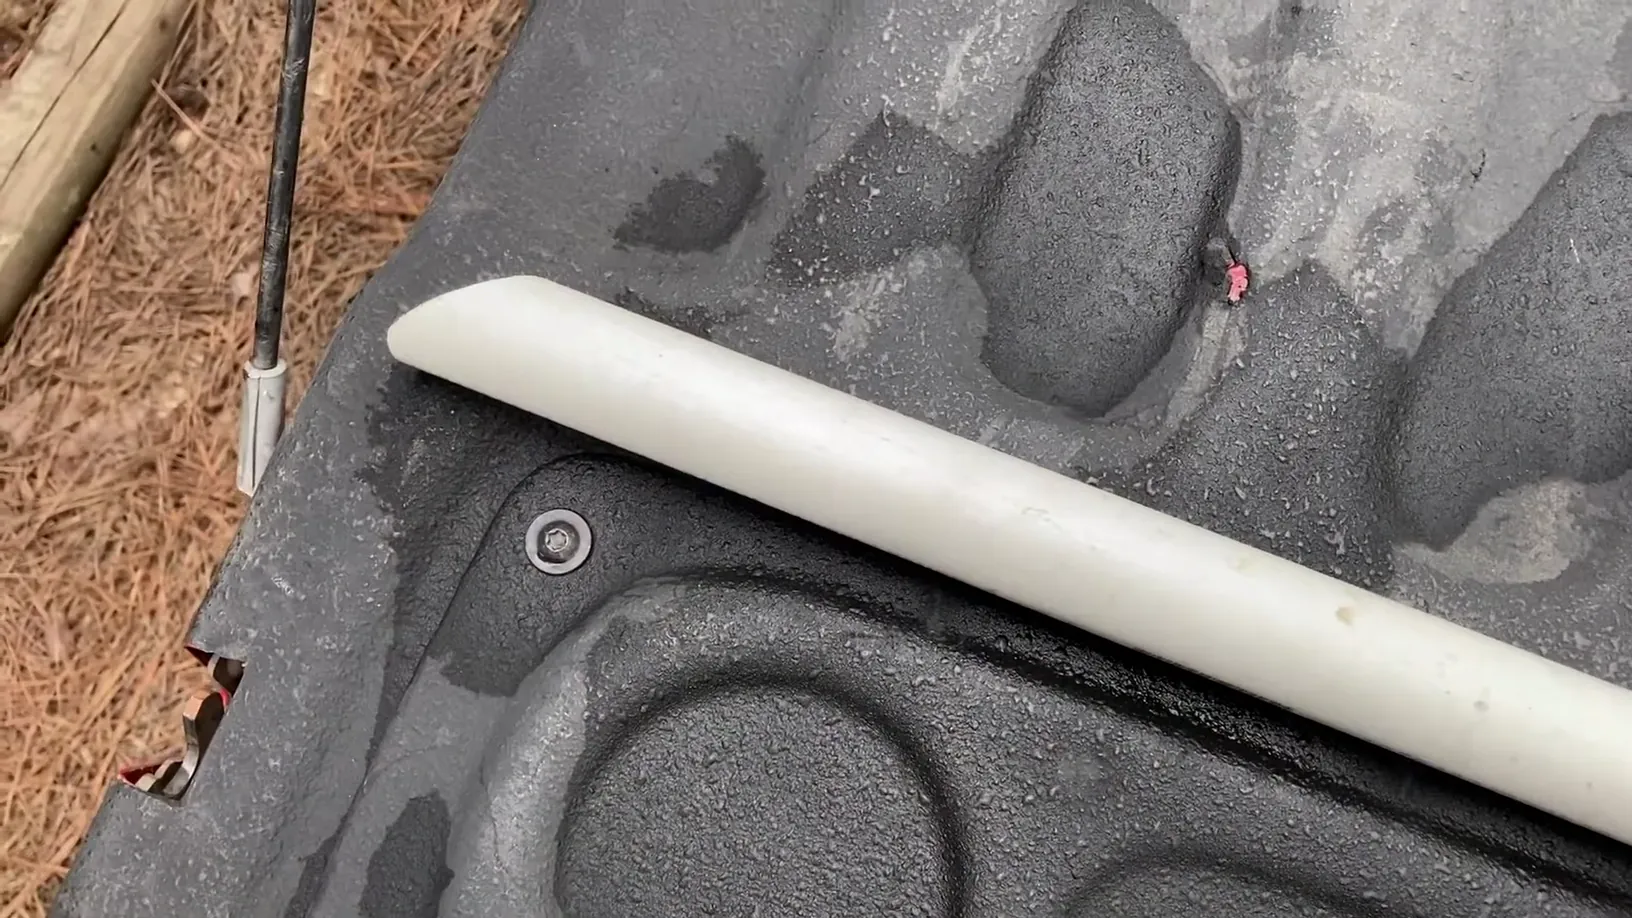
Step 1: Cut and Angle PVC Wand
Cut a length of 3/4" PVC that can comfortable reach the bottom of your transport source. Cut the angle at 45deg so it doesn't suction to the bottom of the barrel.
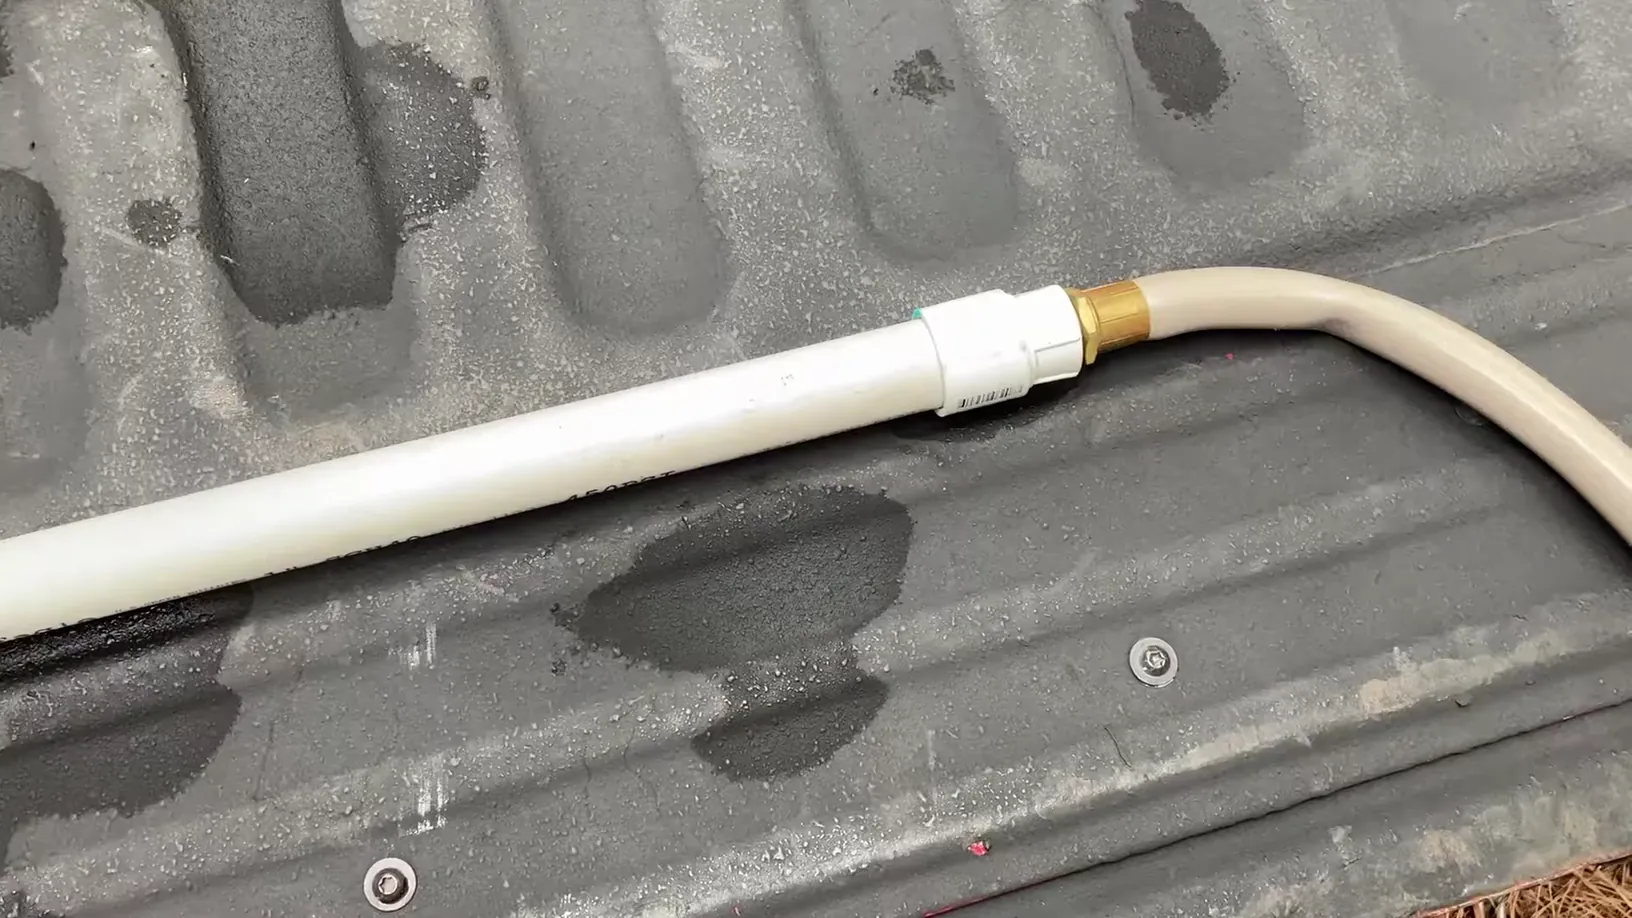
Step 2: Allow Attachment of Hose
Using a 3/4 in. Slip x FHT PVC Hose Fitting glue the slip-side to the 3/4" wand. This allows for attachment of the male-end of a hose to the wand.
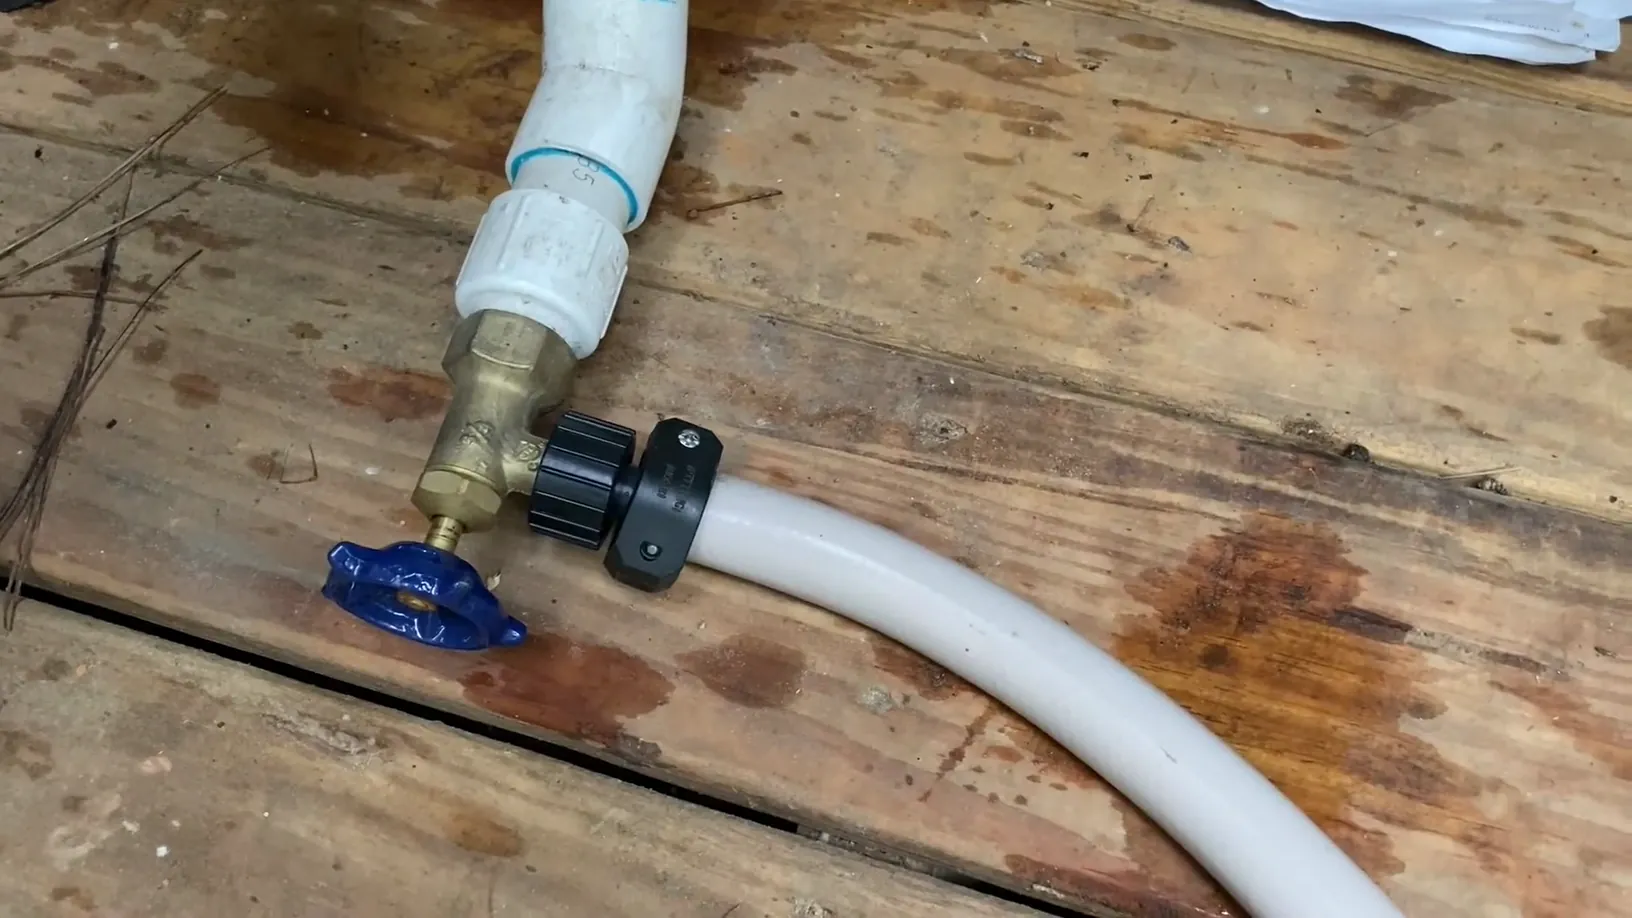
Step 3: Attach Supply Hose to Drain Faucet
Attach the female end of the supply hose to the drain out faucet. Don't open the faucet yet.
Step 4: Attach Supply Hose to Suction Wand
Attach the male end of the hose to the want and place in the water you want to transfer to your main tank.
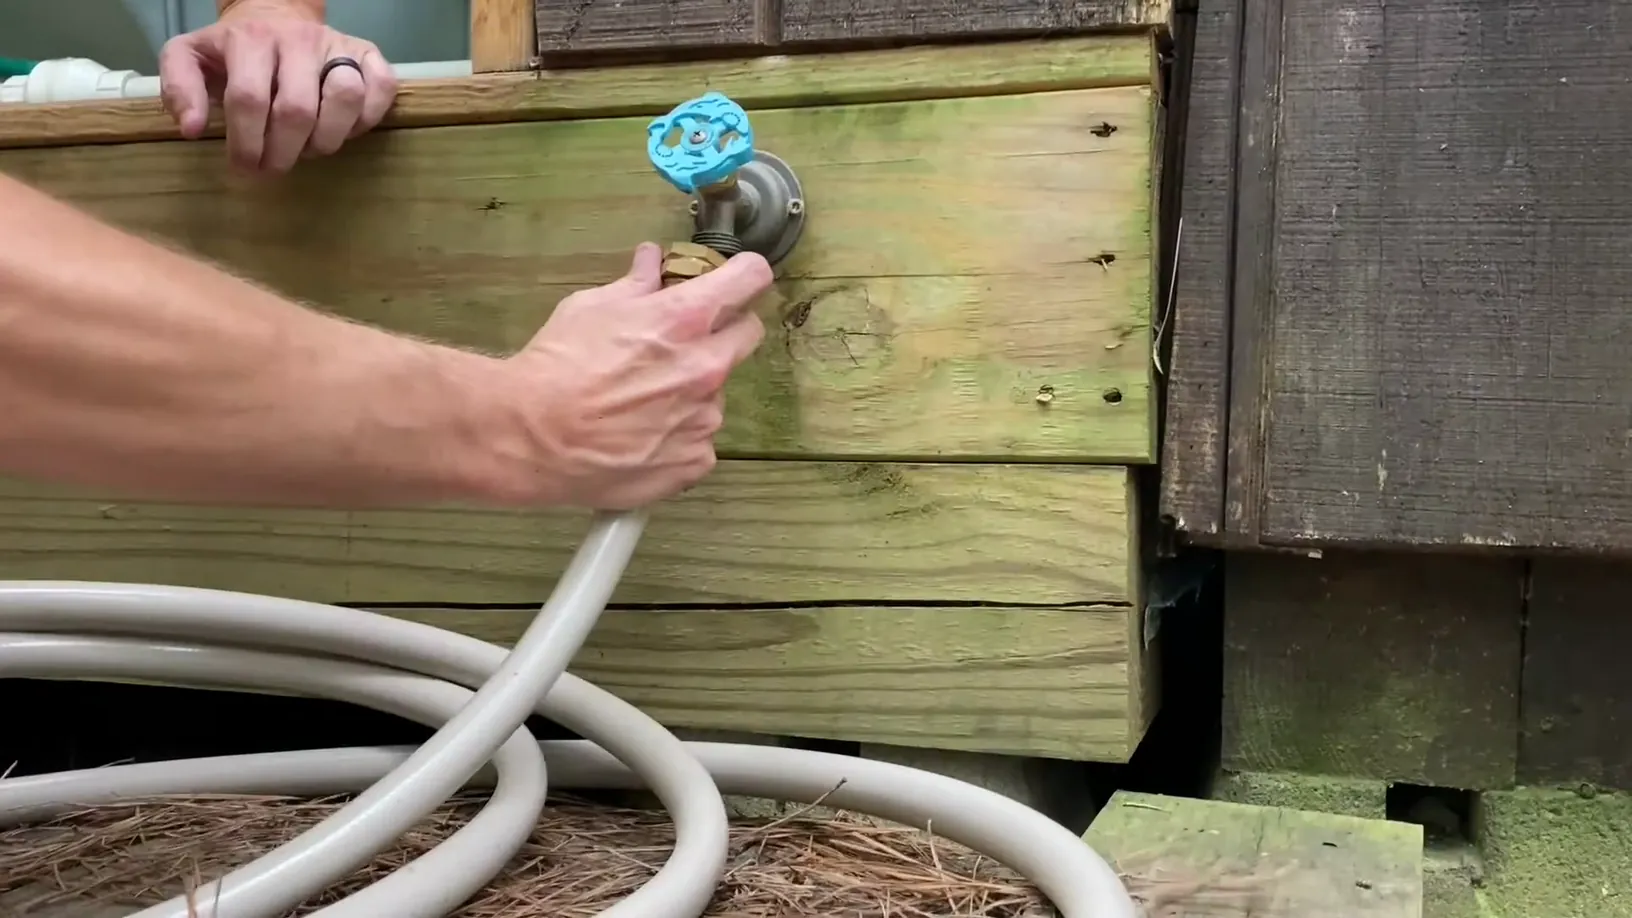
Step 5: Attach Hose to External Faucet
Attach the female end of another hose to an external faucet within your water system (it will be connected to your cold-water manifold).
Step 6: Place External Faucet Hose In Main Supply
Route the male-end of the hose on the external faucet into the main supply.
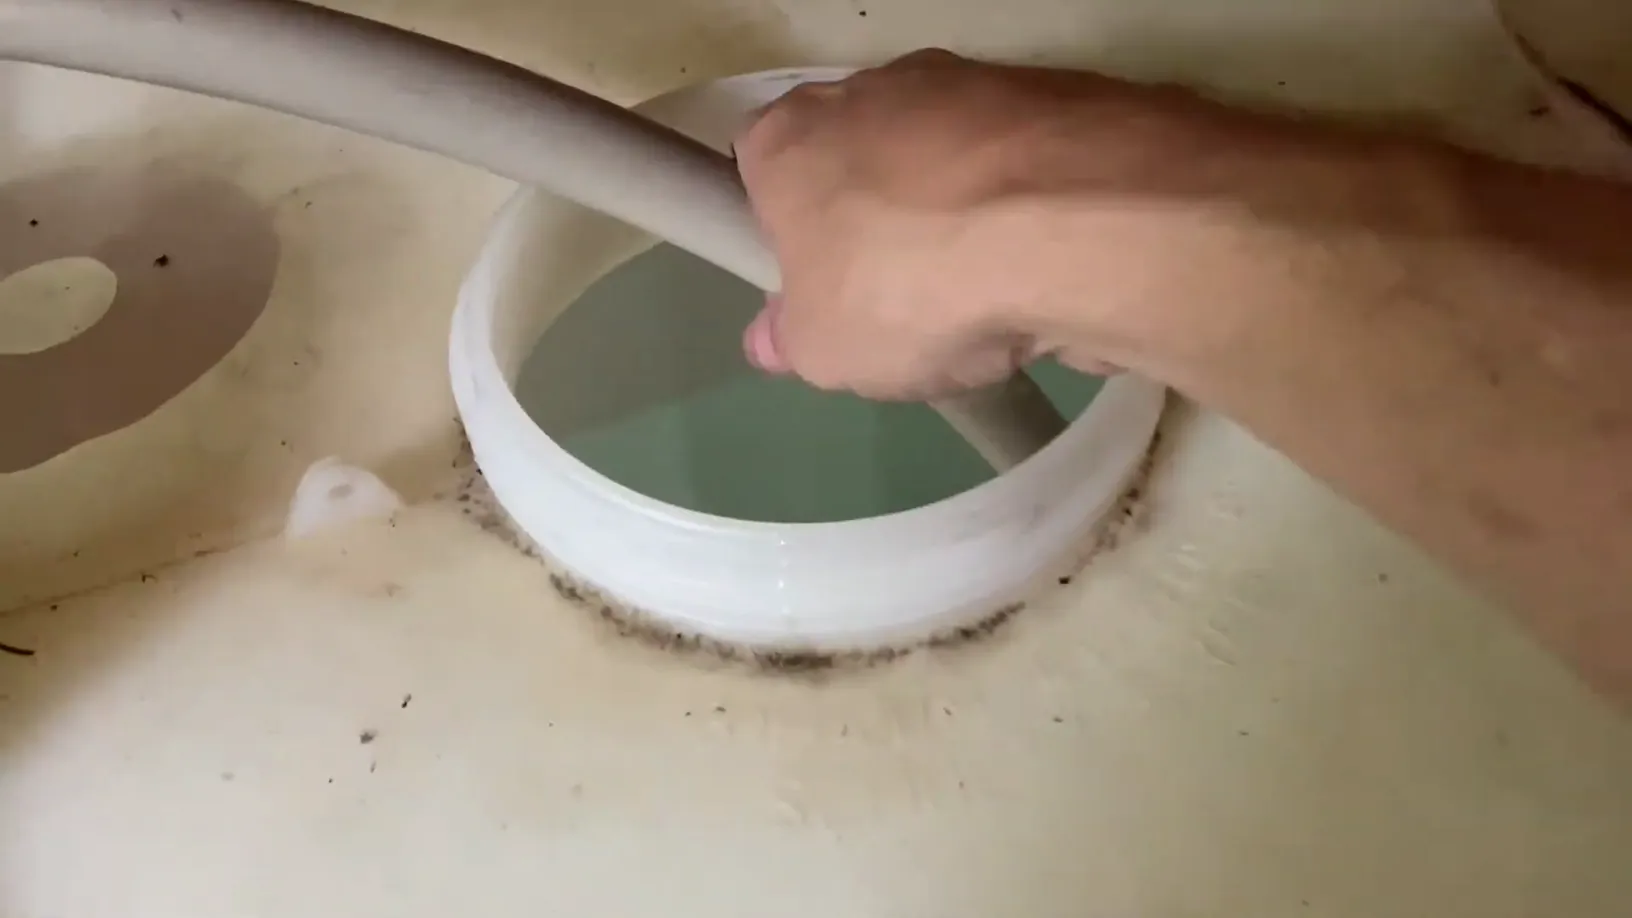
Step 7: Transferring Water
Turn on the external faucet so water loops from the main tank, through the pump, and back into the tank. [01:43]
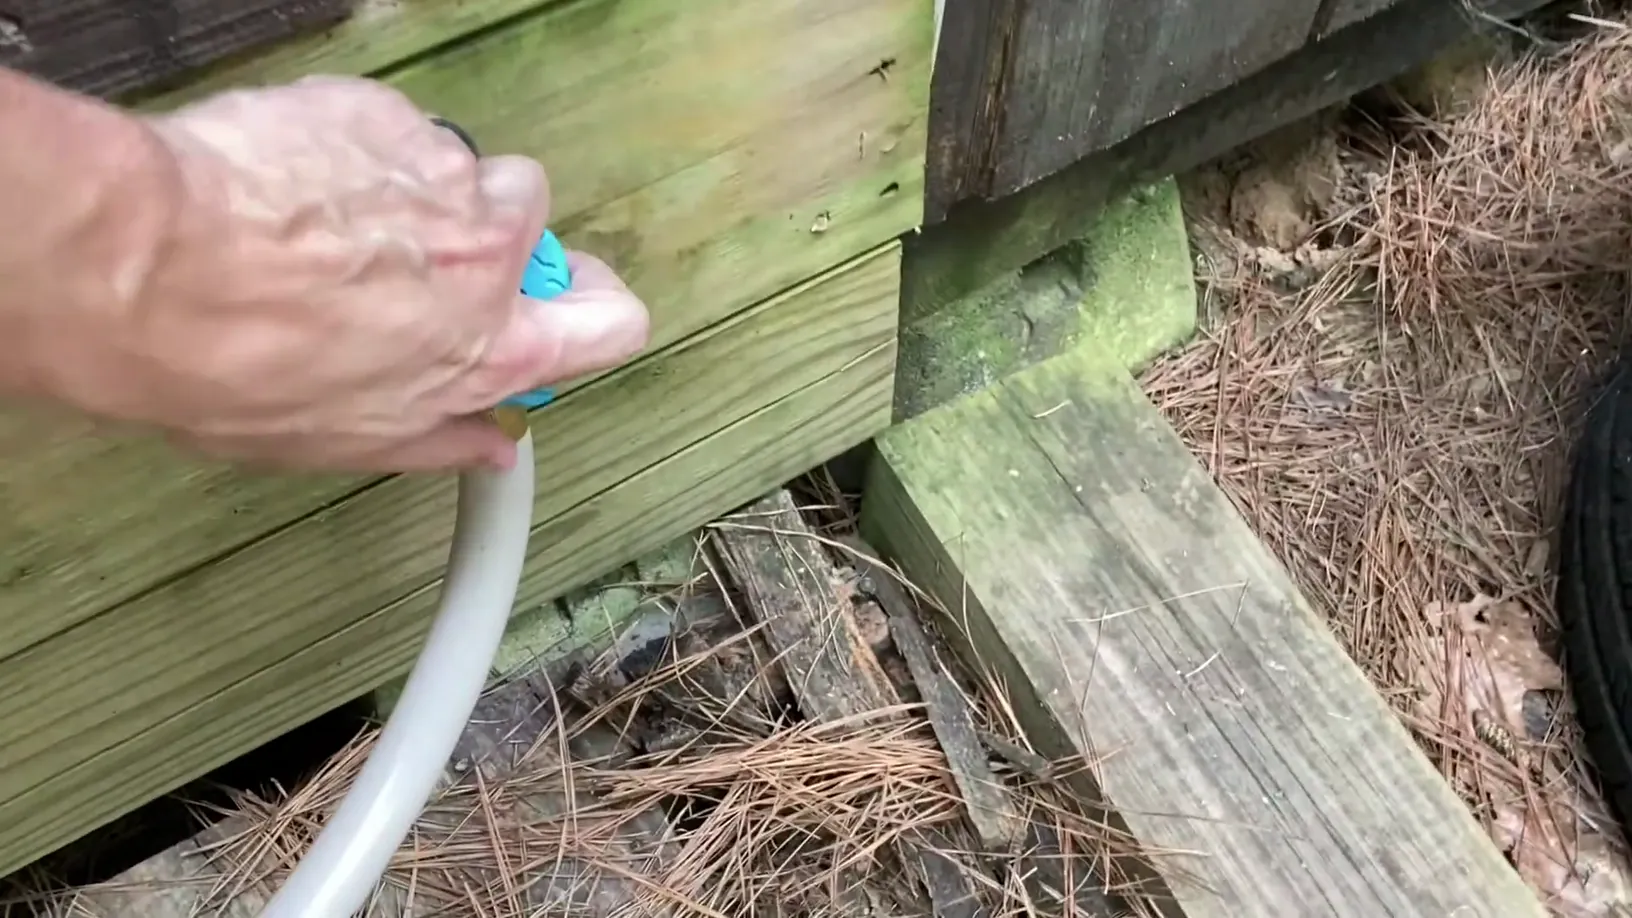
Step 8: Begin Transferring from External Supply
Slowly open the garden bibb valve so the pump starts pulling from both the main tank and the blue barrel. [02:02]
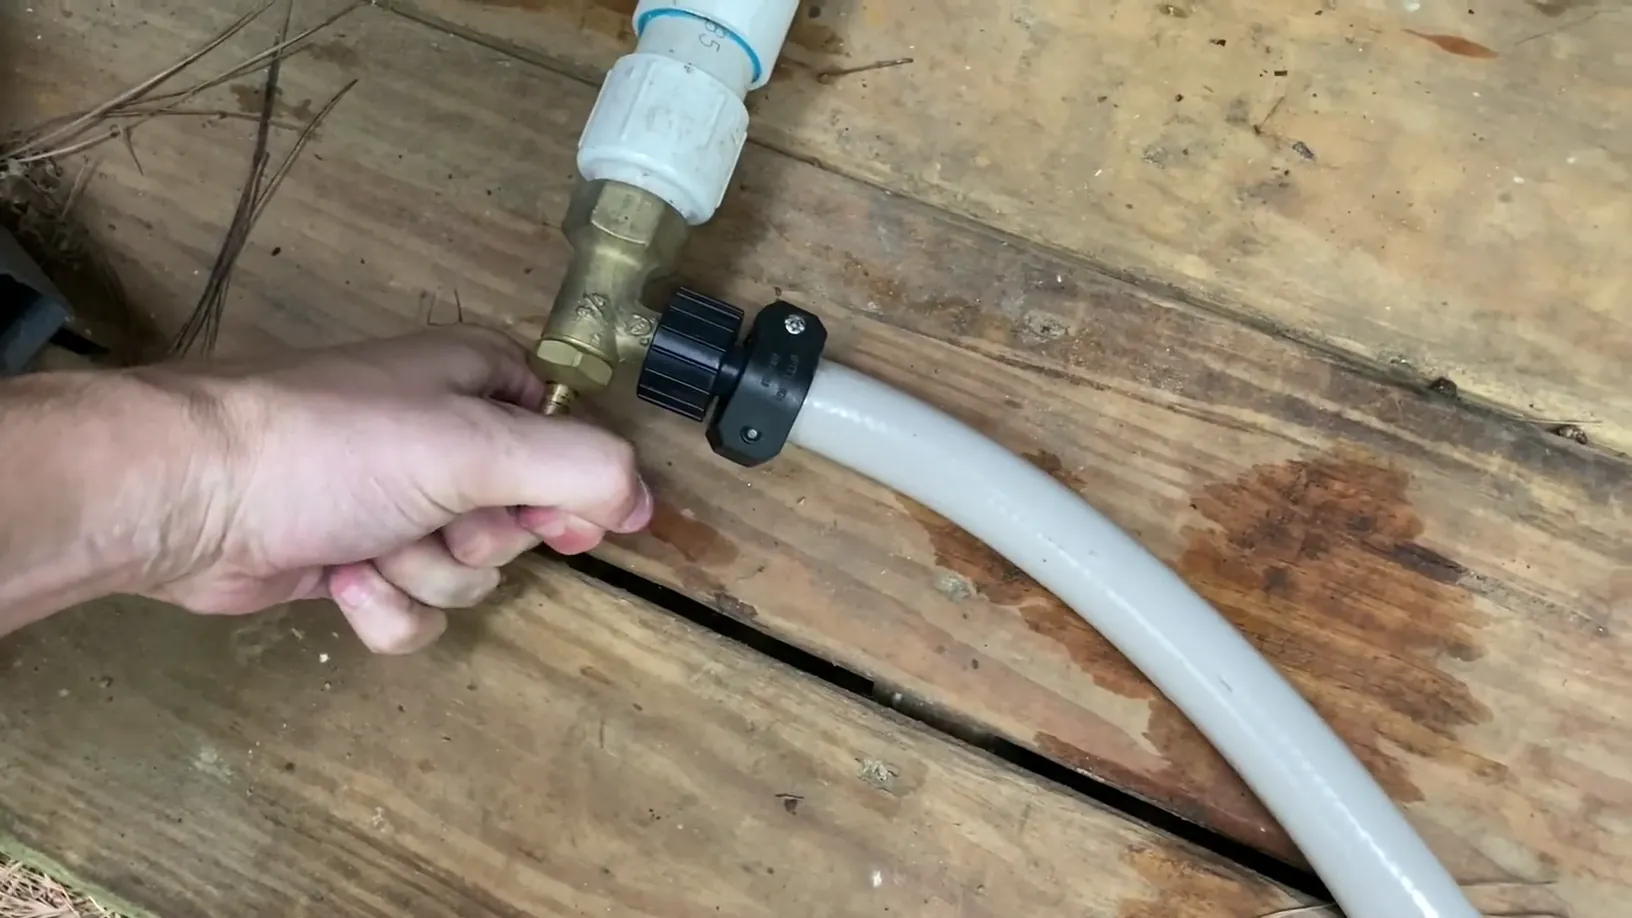
Step 9: Taper Off Main Supply
To pivot to only pulling from external transfer source, gradually turn the main tank's inline valve halfway (to ensure prime remains), then all the way off. This forces the pump to pull exclusively from the blue barrel to fill the tank. [02:14]

Step 10: Switch Back to Storage
Once your blue barrel is empty, reverse the process. Turn the inline valve back to the open position to pull from the main tank, then close the drain valve and shut off the external faucet. Your system is now topped off and ready for camp life. [02:35]
Materials Needed
(May Contain Links that Earn Commission)
•
3/4" PVC (you can also reduce 1" if you only have that)