DIY: Freeze Fish So It’s As Fresh As the Day It Was Caught
I only recommend products I believe in and use myself. If you purchase something using a link to an item on a post, I may earn a small commission at no additional cost to you. Read More
When you have a successful day on the water, the goal is to ensure your fillets taste just as fresh when they hit the pan. Vacuum sealing fresh fish can sometimes "mush" the delicate meat or pull out too much moisture. Using a quick brine and a "pre-freeze" technique keeps the meat firm and perfectly preserved.


Step 1: The Cold Brine
Before sealing, a quick cold brine helps the fish stay firm during the freezing and sealing process. [00:00:30]
Fill a large bowl with ice and about half a gallon of water.
Add approximately half a cup of salt. [00:00:24]
Stir the mixture; the salt won't dissolve instantly in the cold water, but mix it as much as possible.
Drop your fillets into the brine and let them soak for about five minutes. [00:00:50]
Step 2: Dry the Fillets
Pull the fillets out of the brine and lay them on paper towels. Pat the fish dry to remove excess surface moisture. [00:01:04] This is key to getting a good vacuum seal and preventing ice crystal formation.
Step 3: The "Pre-Freeze"
This is the most important step for maintaining texture. Vacuum sealing soft, room-temperature fillets can damage the delicate meat.
Wrap individual fillets or small portions in plastic wrap. [00:01:30]
Place them in the freezer for about three to four hours. [00:01:34]
You aren't freezing them solid—just enough so they are rigid enough to hold their shape against the vacuum pressure.
Step 4: Vacuum Seal
Once partially frozen, place the fillets into vacuum sealer bags in meal-sized portions. [00:01:42]
Pro Tip: Roll the top of the bag down before inserting the fish to keep the sealing area clean and dry.
Double Seal: Run the seal cycle twice on each bag to ensure a strong bond that won't fail during long-term storage. [00:01:52]
Wrapping Up
By taking these extra steps to brine and pre-freeze, you'll find that your fish stays much firmer and tastes significantly better when you eventually thaw it out to fry, bake, or pan-sear. It’s worth the extra effort to protect your harvest!
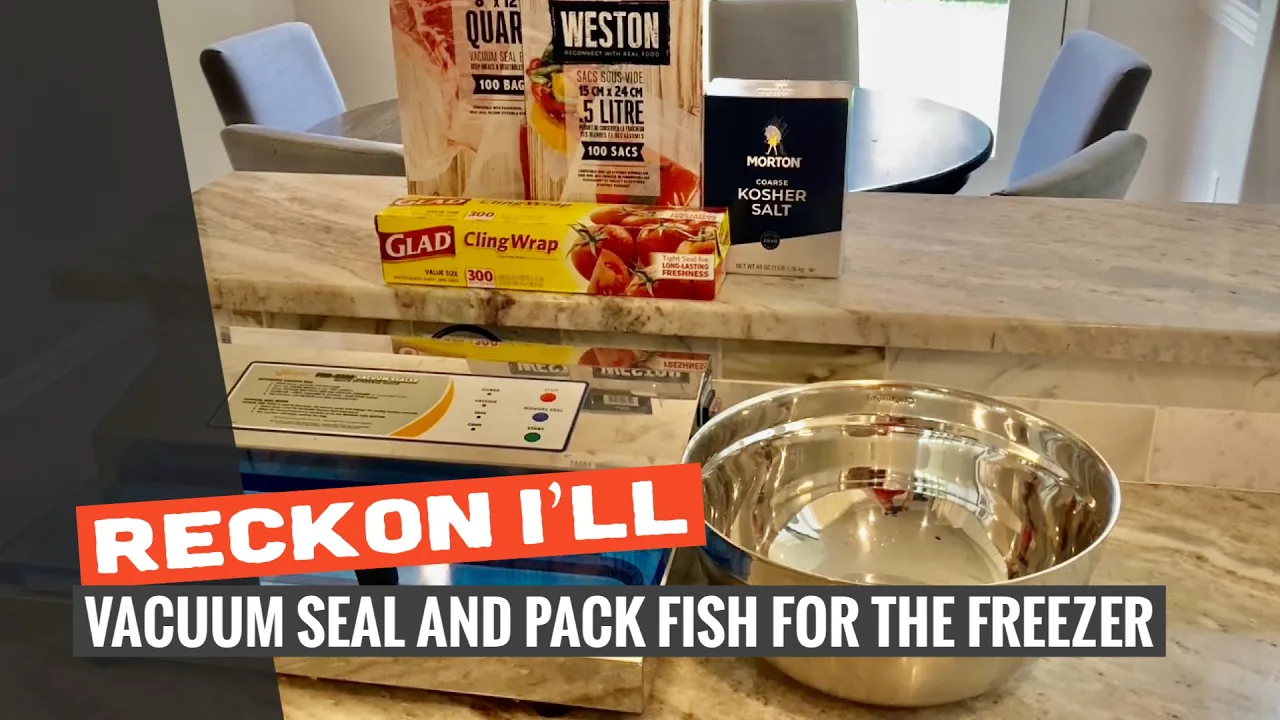
Materials Needed
(May Contain Links that Earn Commission)
•
Fresh Fish Fillets (Sand Bass or other species)•
Large Bowl and Ice•
Kosher Salt•
Plastic Wrap (Saran Wrap)•
Paper Towels